Category: Guides
-
Beastmoon Event Guide
•
Beastmoon consists of two different events that take place every month on Wizard101. These two events are called Beastmoon Hunt and Beastmoon Monster Mayhem. These are separate game modes with different rules and occur at different times. However, the overall premise of both games is to fight enemies using polymorph…
-
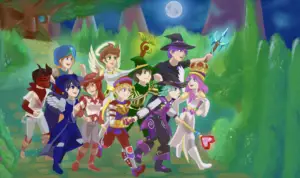
Wizard101 Level 170 Gear Guide
•
Welcome to the Ravenwood Academy Wizard101 2025 gear guide. All the credit goes to community members mrskyking, dragonkiller258, and tthunder17 for their hard work in bringing this guide to The Spiral! Free To Play Gear Builds Gearing up in a free-to-play set is all about smart farming. Wastelander’s gear drops…
-
Waterworks Guide
•
Most of us have done this dungeon, whether you were farming for mastery amulets, mega snacks, or your level 60 Legendary gear, Waterworks is your friend for all of that. In this article, I will explain how to beat Waterworks, what you’ll encounter, and what to expect. Without further ado, let’s get…
-
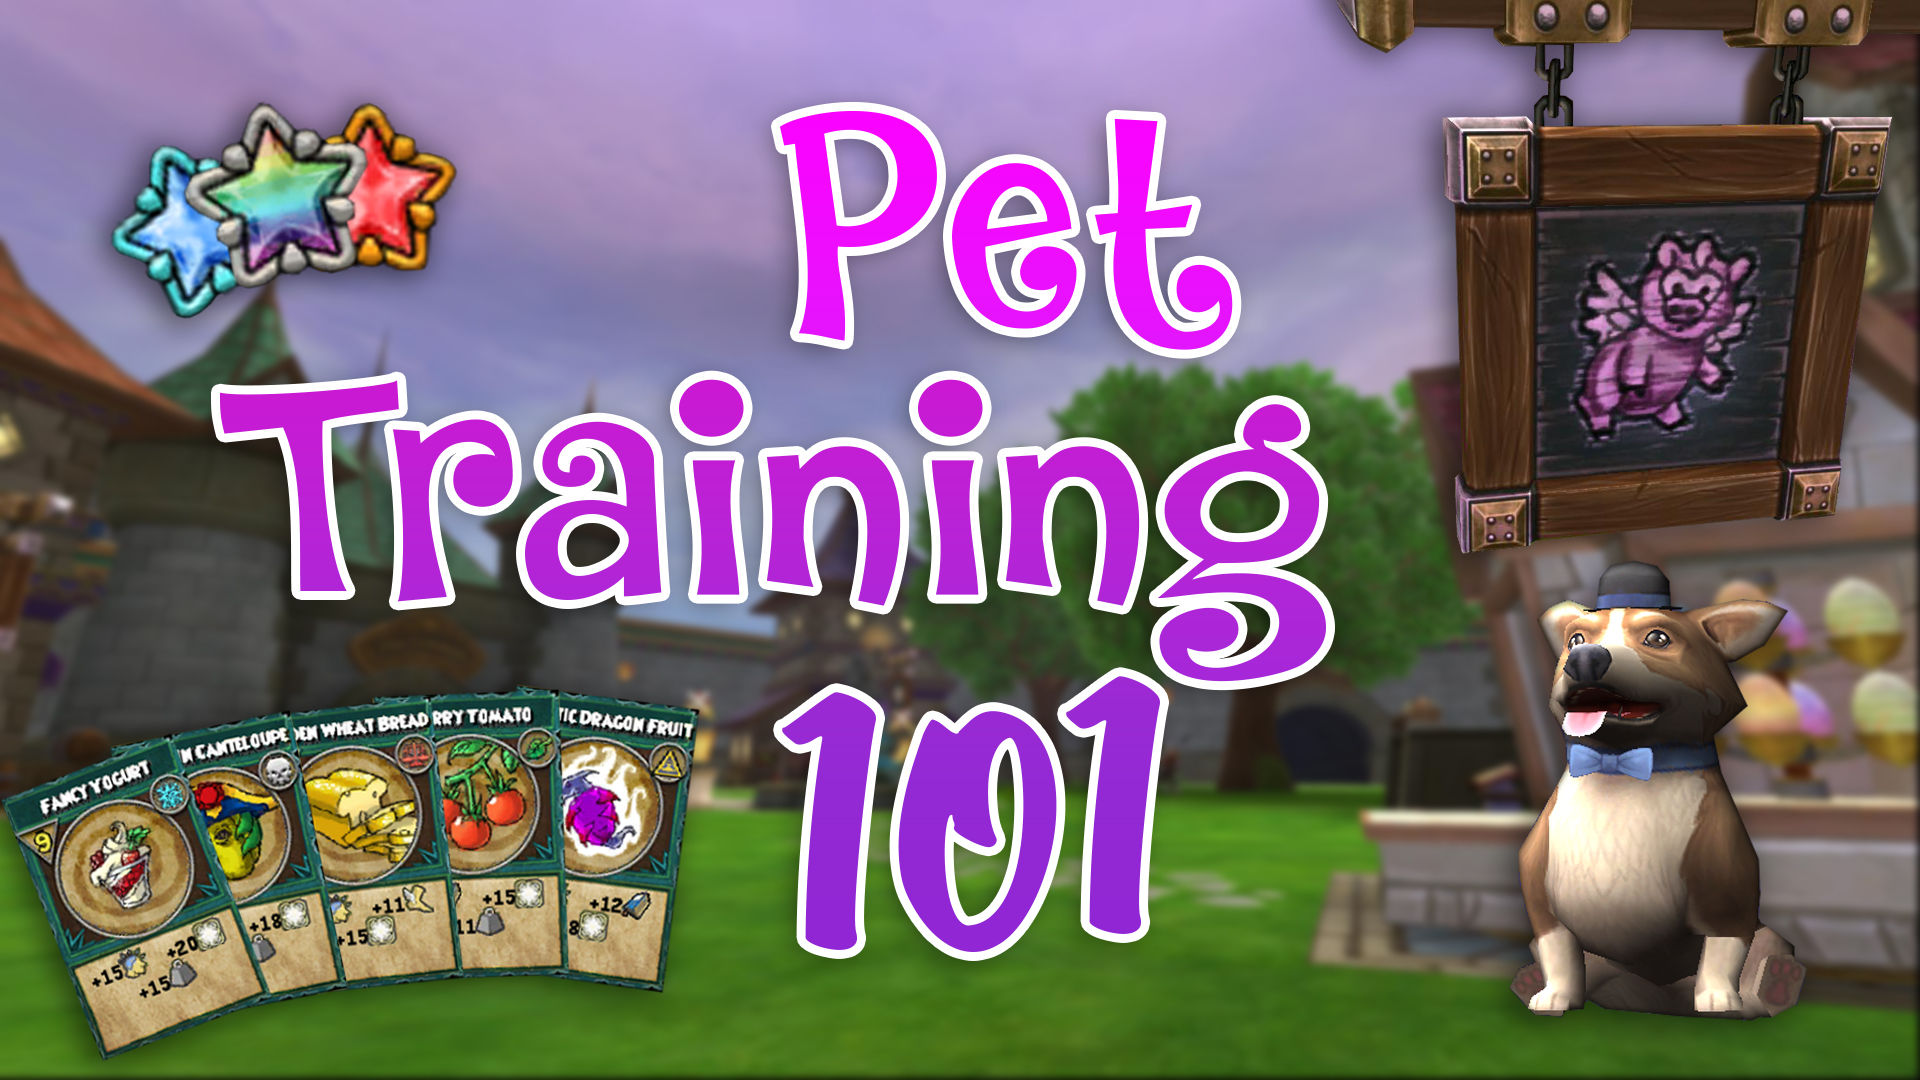
Wizard101 Pet Training Guide
•
Hello, this is Community Moderator Bean with my Wizard101 Pet Training Guide. This method works with any pet and will clean 95% of the pet’s Talent pool. It rarely results in fails when done step by step. Hatchmaking 101 Step One Look through the Kiosk to find a pet with…
-
Couch Potato Farming for all Levels
•
Anyone who has ever tried to hatch the perfect pet knows how important Mega-Snacks are. Mega Snack Packs are expensive and only help a little bit. The best and easiest solution is to grow Couch Potatoes, but how can we get them without spending all of our Crowns? Depending on…
-
Darkmoor Strategy Guide
•
Hello Wizards, Amber Ravynsong here with the Darkmoor Strategy guide you all have been asking for. Darkmoor consists of three dungeons. First, Castle Darkmoor, then The Upper Halls, and finally The Graveyard. 3495 Crowns will purchase this area permanently, and 495 can get it for 6 hours. Start to finish,…
-
Mount Olympus Strategy Guide
•
When you reach level 30, Cyrus Drake will invite you to the Quest for Glory, your ticket to Mount Olympus. The quest will send you to Cyclops Lane, where you will discover something unique. Hiding in the back of the park is a golden chariot to Aquila. There, you will…
-
Gardening101
•
This article will introduce you to gardening in Wizard101. We will start with the basics a new Wizard101 gardener needs to know. Why start Gardening? There are a lot of reasons to start gardening in Wizard101. The most common reason a young Wizard might garden is for pet snacks. Pets…
-
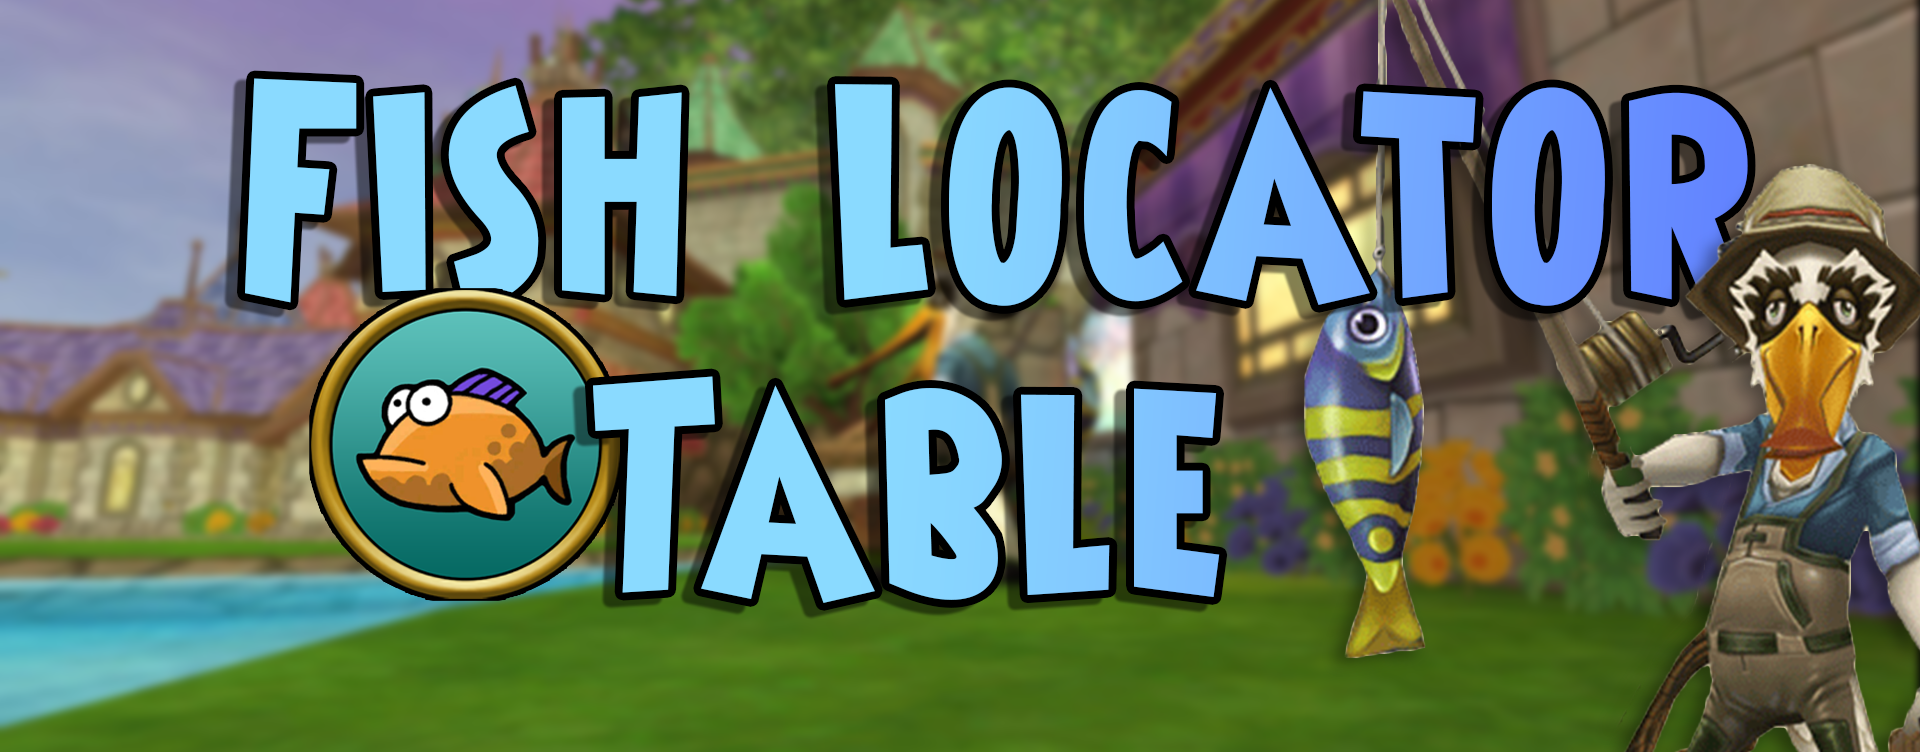
Fish Finder: Best Places To Catch Them
•
Fish Finding 101 Hello! Erin EagleCaller here, bringing you a complete catalog of the Spiral’s fanatic fish! I’ve traveled far and wide to every world to assemble this magical menagerie. Here you will find everything you need to know about every fish currently in Wizard101. Here, fish are categorized by…
-
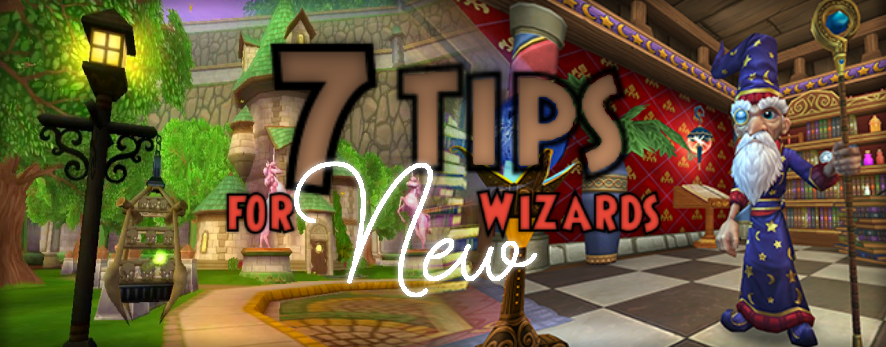
7 Tips for New Wizards
•
Navigating the Spiral can seem overwhelming when you first enroll at Ravenwood Academy. There are so many things I wish I knew before I started playing. It would have saved me a lot of time and frustration. Don’t struggle like me. In this article you’ll find gear, pets, gardening and more.…