Category: Tips and Tricks
-
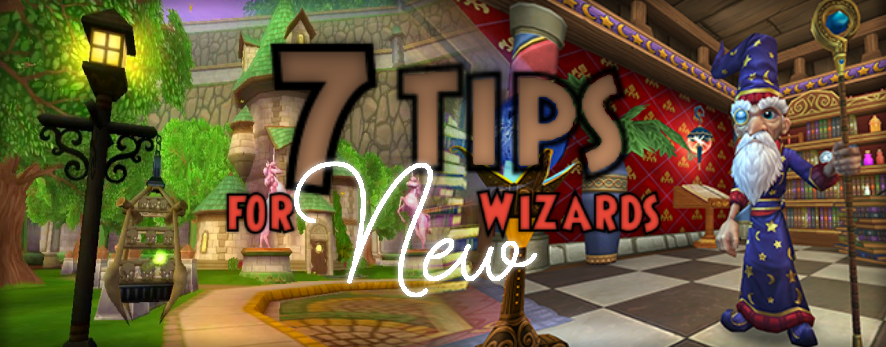
7 Tips for New Wizards
•
Navigating the Spiral can seem overwhelming when you first enroll at Ravenwood Academy. There are so many things I wish I knew before I started playing. It would have saved me a lot of time and frustration. Don’t struggle like me. In this article you’ll find gear, pets, gardening and more.…
-
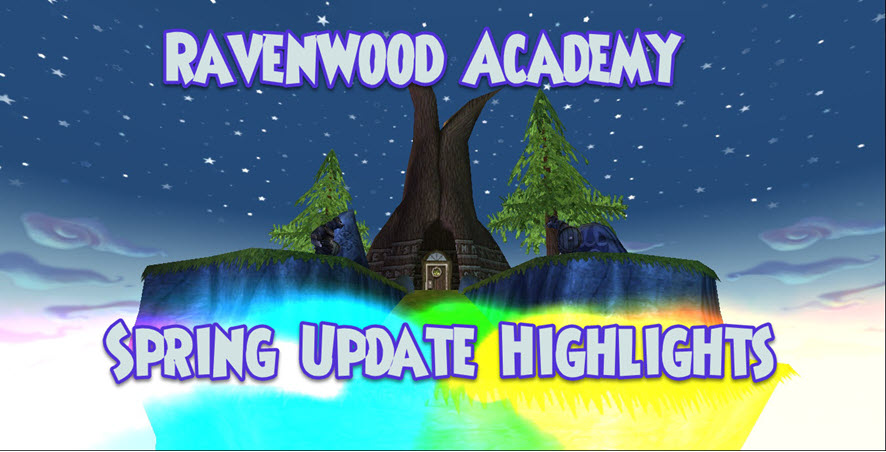
Spring Update Highlights
•
Greetings, Wizards of the Spiral. As we prepare for the Summer here at Ravenwood Academy, we’d like to highlight some of our favorite changes from the Spring 2021 Test Realm. Without further delay, let’s begin! New Skeleton Key Bosses Two new Skeleton key bosses have arrived in Grizzleheim and Karamelle.…
-

Critical Changes Explained
•
The New Critcal System Explained Hello Wizards, Nathan Shadowbringer, and Scot Moonshade here! We’re going to explain the recent changes to Critical and Block. Today’s article will revisit the previous age’s Critical and delve into the new system. We will examine the formulas to calculate your Critical Chance and damage…
-
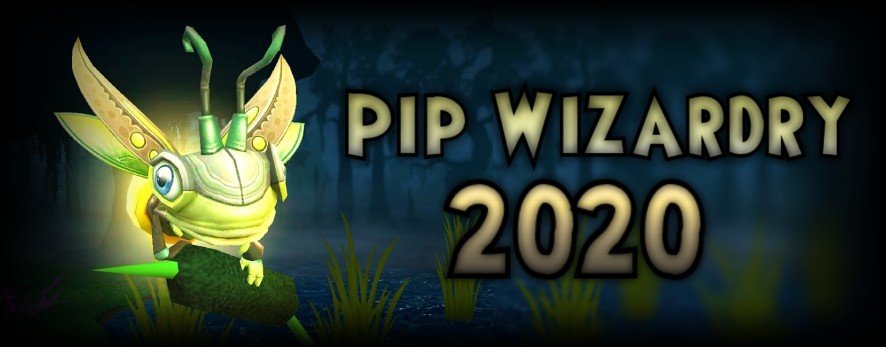
Pip Wizardry 2020
•
Pip Wizardry 2020! Hello Wizards, this is Nathan Shadowbringer here to help you calculate the actual damage of spells per pip! This article will be updated if spell changes happen down the line. Eventually, I plan for this list to include even Loremaster and crafted spells. We will start with the highest…
-
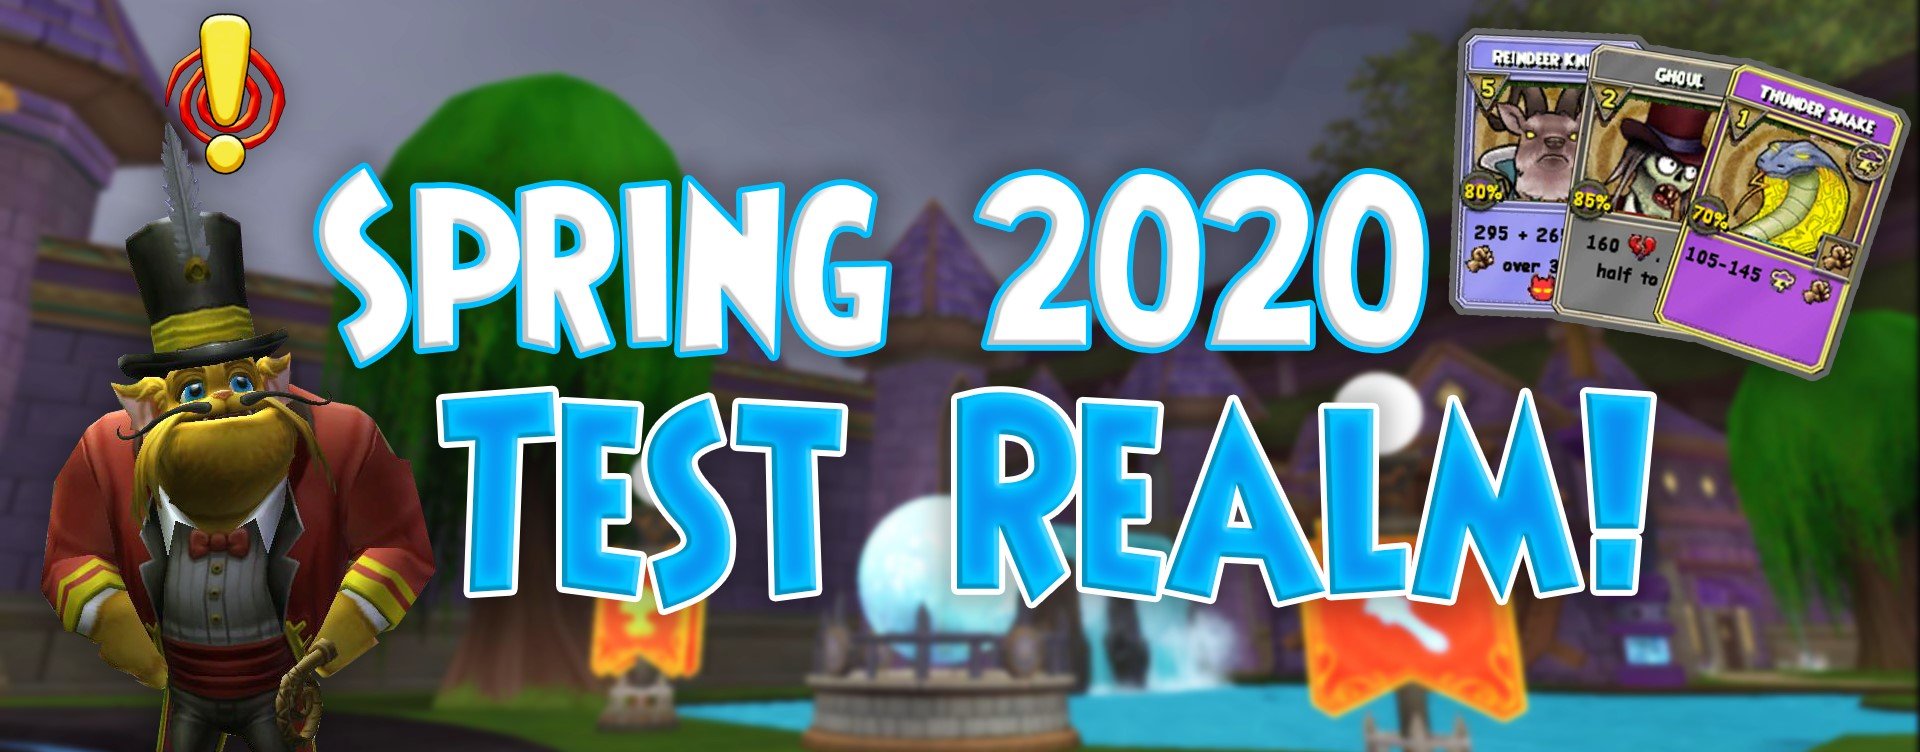
Spring 2020 Test Realm Updates!
•
As we enter April, the first Wizard101 update for 2020 is here!!! Past Spring Updates have brought popular quality of life changes, as well as new features and systems. Two updates you may remember included Monstrology and Hatchmaking. The 2020 update lives up to those expectations without a doubt. So,…
-

Ice School Guide to 99% Resist
•
Have you ever wondered how you could increase the resistance on your level 110 Ice Wizard? Well, Ravenwood Academy is here to help. Let us guide you on the right gear and pet to achieve 99% universal resist in Wizard101. Now, I know what you’re thinking, can this be true?…
-
How to Get Elixir Vitae
•
You may be wondering how to achieve the Elixir Vitae badge for healing One Million. It sounds difficult! While it’s not easy, it’s possible for any wizard. So, read through my tips and tricks for getting this badge. The Heal The spell you use is very important. You need…
-
How to Get “One in a Million”
•
“One in a Million” is one of the most popular badges in Wizard101. Unfortunately, without the proper setup and strategy, you may fail at your attempt to earn it, wasting time and gold. So, here are my tips and tricks on how to achieve “One in a Million.” …
-
Play Wizard101 for Free!
•
Let me start by saying, we’ve all been there. There’s always been a time in the game when you’re considered a free player, whether you’re out of crowns or your membership has just run out. Especially when you’re playing for the first time, crowns and membership can be difficult to…
-
Permanent Mounts for Gold
•
Never quest on foot again, get a permanent mount for gold. There is no reason any wizard should have to run around The Spiral on foot with the great selection of mounts Kings Isle is offering for in game gold only. Enjoy a 40% speed boost and get…