Category: Pets
-
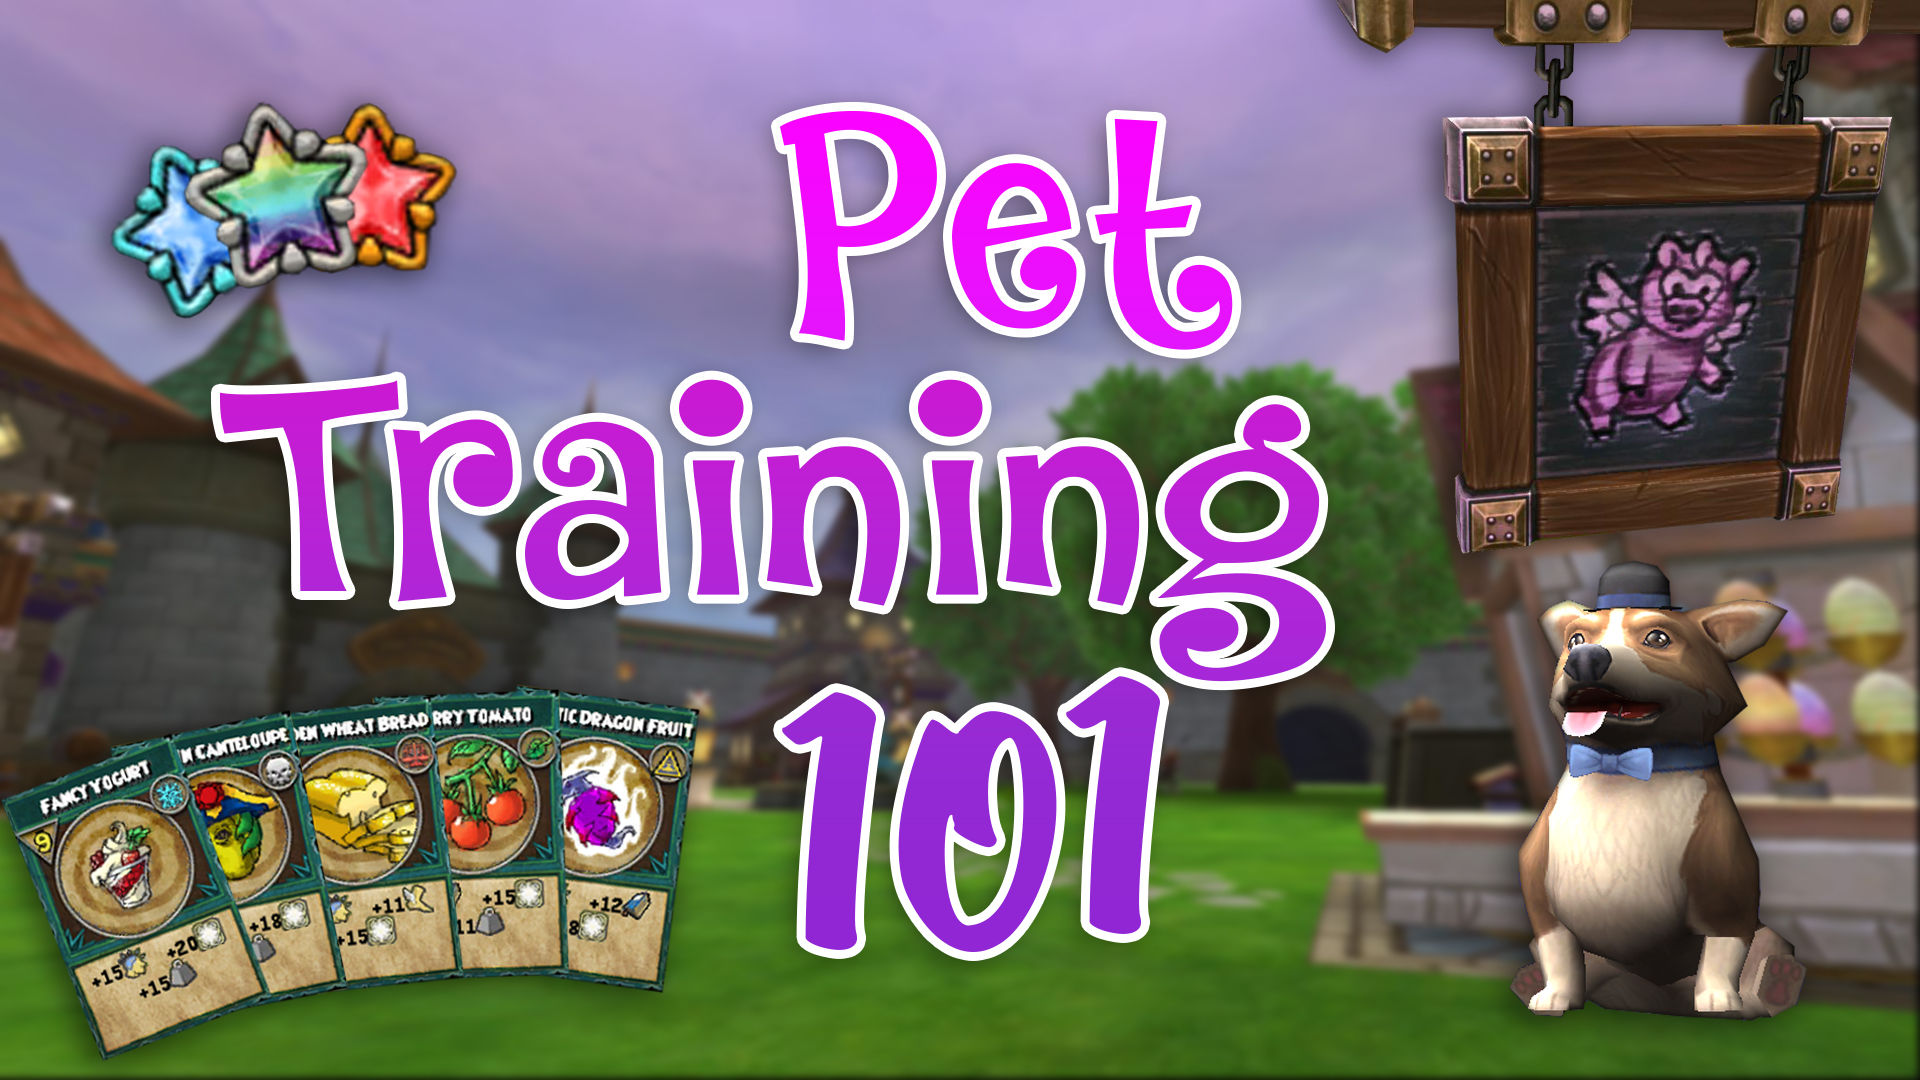
Wizard101 Pet Training Guide
•
Hello, this is Community Moderator Bean with my Wizard101 Pet Training Guide. This method works with any pet and will clean 95% of the pet’s Talent pool. It rarely results in fails when done step by step. Hatchmaking 101 Step One Look through the Kiosk to find a pet with…
-
Pet Lending
•
“Pet Lending gives Wizards a powerful in-person hatching option to lend their pet for hatching to another Wizard. And as a bonus you can do this without being charged Gold or having your Wizard’s Hatching Slot timer started. It’s a wonderful opportunity to exchange adventure stories as you also exchange…
-
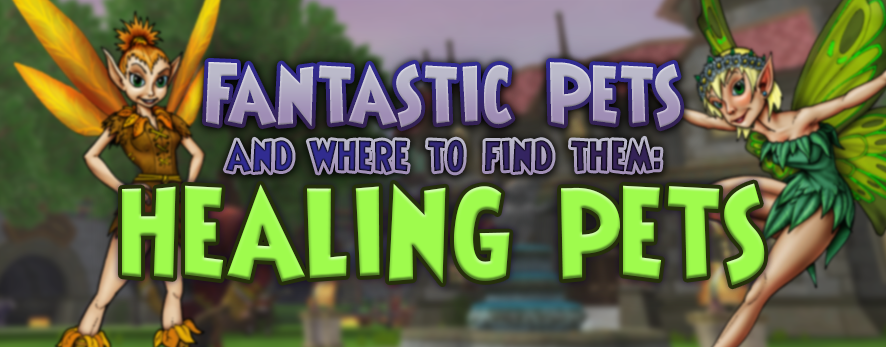
Fantastic Healing Pets
•
What is a Healing Pet? Healing pets have talents that largely focus on “may cast” healing talents. In general they are used in combination with resistance, utility, or outgoing healing talents. Namely because may cast healing talents are used to help you sustain damage over time, but don’t help prevent…
-
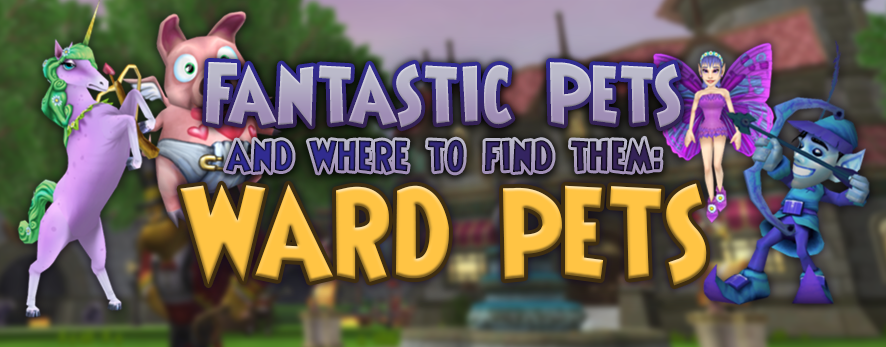
Fantastic Ward Pets
•
What Is A Ward Pet? The name Ward Pet refers specifically to “Ward” talents. Each school has a corresponding ward talent, usually with the school’s name followed by the word “Ward”. For instance, Fire-Ward or Balance-Ward. These talents all give up to 15% resistance to that specific school. Since these…
-
Exclusive Pets
•
With the introduction of Deckathalon, we now have access to a variety of new pets. You will receive a class pet for placing above 25 on the leader-board. So if it’s an Ice event, you would get an “Ice Class Pet.” For positions 26-2500 you will receive the universal “Ravenwood…
-

The Dark Side of Bunnies
•
Chocostein’s Monster Chocostein’s Monster is one of the newest pets in the Spiral. This tasty looking Myth pet comes with a Berserk card at baby and receives a jewel slot at Ancient. Mine manifested some interesting talents, 4 out of the 5 were May Cast. *May Cast Gardening Pixie *May Cast…
-
Petmaking 101
•
Where to Start The first step of the hatching process is to determine what your end goal is. If you don’t have specific talents in mind, it will be hard to know when you have finally trained your dream pet. If this is your first pet, I recommend going for…
-
Energy Saving Tips
•
Hey everyone! Just sharing something I found out recently that might increase your energy efficiency while training pets. Let me know what you think! First things first….. Before I start, consider getting some energy gear if you don’t already have some! I made a guide you can check out here…
-
Pets, Pets, Pets! Basics
•
To begin with pets in the spiral there are a few things you need to do first. This article is meant to help you figure out where to begin being a pet owner in game. 1. Plant a garden! I know, you thought this article was about pets, well it is.…
-
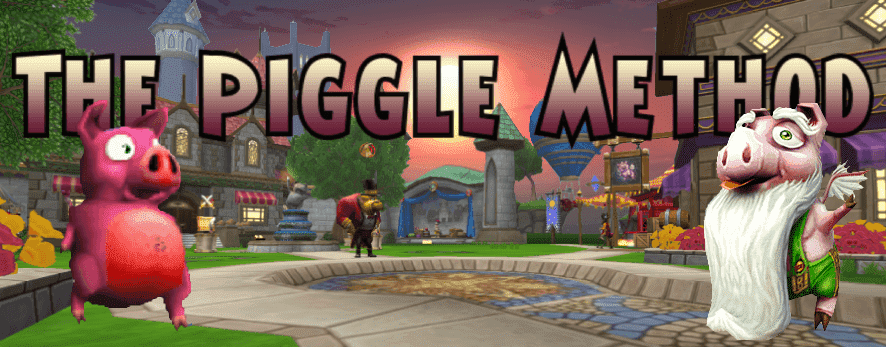
Copying a Pet Using the Piggle Method
•
So, you want to make a great pet for questing? Unless you’re an experienced pet hatcher, I recommend that you copy a pet from the Hatchmaking Kiosk. Before you get started, make sure you have a full garden of Couch Potatoes and Evil Magma Peas for a good supply of pet snacks and…