Most of us have done this dungeon, whether you were farming for mastery amulets, mega snacks, or your level 60 Legendary gear, Waterworks is your friend for all of that. In this article, I will explain how to beat Waterworks, what you’ll encounter, and what to expect. Without further ado, let’s get started.
Entrance
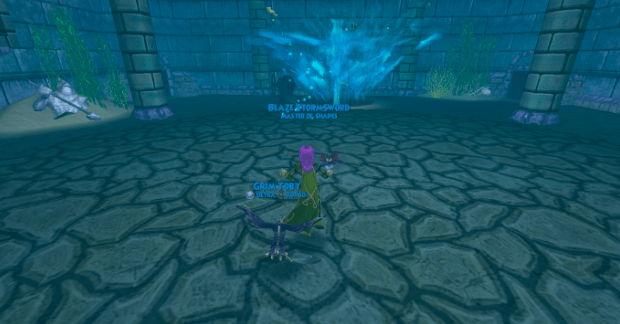
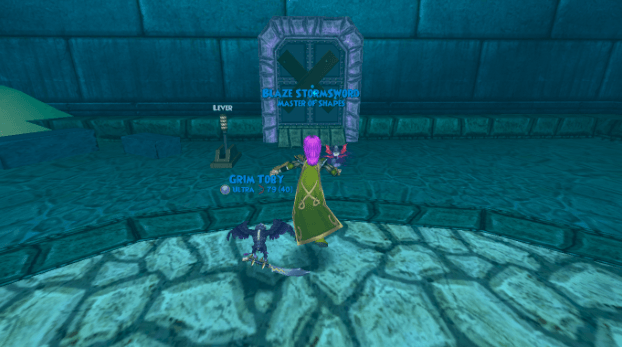
When you first enter the dungeon, you’ll be underwater. No enemies are present here. Pull the lever and go on to the first room. Stop at the entrance to plan out your strategy for the fights that follow.
Room 1
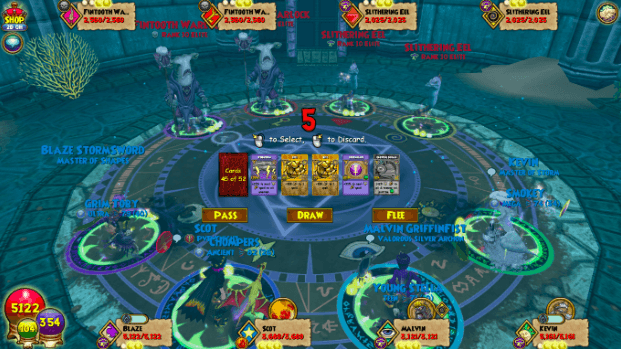
In this room, you will encounter four enemies. Two Fintooth Warlocks (Death, 2,560 health) and two Slithering Eels (Storm, 2025 health). They do not cheat, but they do have considerable resist toward their same school. The best strategy for this first fight is to have your team prepare blades for a hard-hitting hit all spell. They’re easy mobs that you can kill in 2 to 3 turns, max.
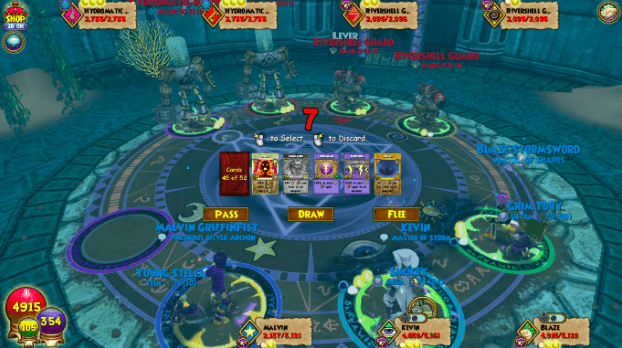
The next fight is a little harder, but it’s doable. Here, you will face two Hydromatic Drones (Ice, 2,735 health) and two Rivershell Guards (Storm, 2,095 health each). The Hydromatic Drones love to spam Frost Giant and Tower Shield to make your life a little more difficult. The best thing to do is to blade up as usual and use hit all spells. After you’re done with this battle, this concludes the first area. Pull the lever and you’ll be ready to move on to the next area.
Room 2
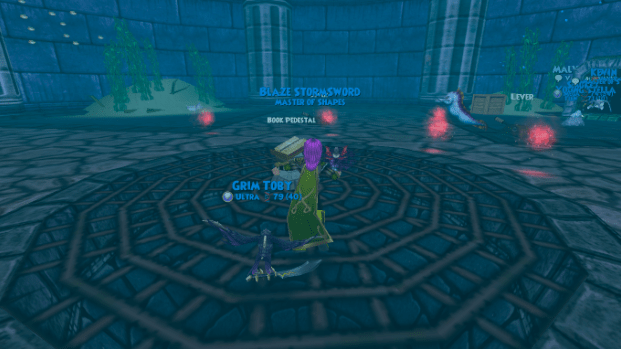
Puzzle: Here, you’ll be met with a puzzle. It’s fairly easy, but you must move fast. You will need to open all the blue clams to advance to the next floor. Avoid the yellow clams at all costs or you’ll summon four enemies, and while they aren’t hard, you will waste valuable health and time. After solving the puzzle, you will be granted health wisps, which are very handy for the boss ahead.
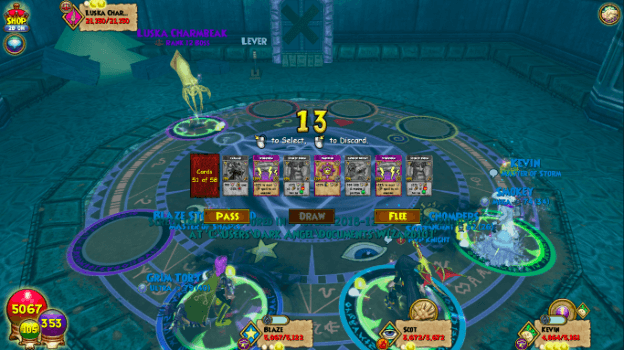
Boss Fight: After the blue clams have been opened, you’ll encounter the first boss in Waterworks, Luska CharmBeak. He is a balance squid with 21,150 health, but he has some pretty massive fire and death cheats. He drops the Waterworks Hat and occasionally, mastery amulets. How this boss works is pretty simple.
You can’t put any traps Luska or he will remove them and follow up with a massive Power Link or Skeletal Dragon that does 1100 per turn for 3 turns. AOE Traps such as Windstorm are fine, and pet traps will not trigger this cheat either. Multi traps like Fuel are not allowed by Luska. Only the first trap gets removed but it will still trigger the Skeletal Dragon.
You can only attack Luska if you have been “inked.” The wizard who is inked can hit Luska with any type of spell, but if you’re not inked, you can only attack with hit all spells. The wizard occupying the first spot will immediately be inked and as Luska’s health drops lower, he will ink the second wizard and soon enough, the third wizard. The fourth wizard will never get inked, so your best idea will be to put a support wizard last since they don’t need to hit. He can be an easy, straightforward boss if you have a hitter in the first spot and avoid traps. After defeating Luska, pull the lever and move on to the third area.
Room 3
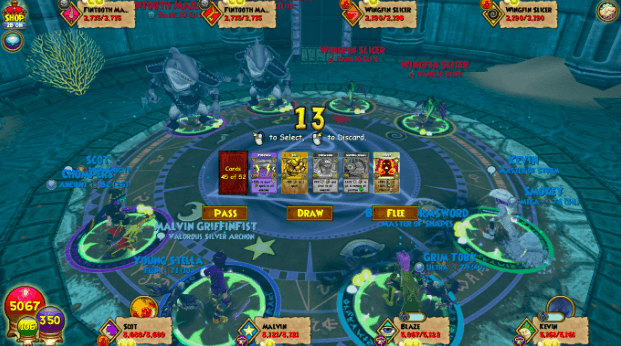
Fight 1: Here, you will face two Fintooth Marauders (Death, 2,715 health) and two Wingfin Slicers (Fire, 2,190 health). They do not cheat. Blade up, use a hit all spell, and the mobs should be dead. After they’re dead, you’ll proceed to the next battle.
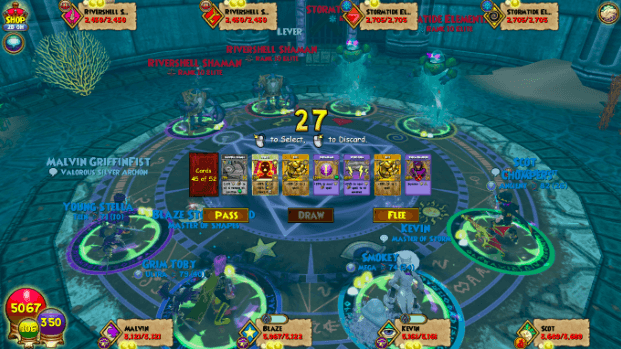
Fight 2: Here, you will face two Stormtide Elementals (Ice, 2,705 health) and two Rivershell Shamans (Balance, 2,430 health). Just as before, they are an easy mob battle. Blade up and use a hit all spell to eliminate them, then pull the lever and head into area four.
Room 4
Puzzle: In this room, before you battle anything, you’ll be met with a puzzle. It’s a simple puzzle to solve. When you read the instructions they will tell you “Start here to play follow the leader.” An eel will appear and will start touching various levers. Follow the eel and pull the levers in the same order. If you fail at the puzzle, you will face 4 Slithering Eel enemies, they are storm with 2,025 health each. After this puzzle is done, proceed to the next phase of Waterworks.
Fight 1: Here, you’ll face your last set of mobs. You will face two Riverclaws (Ice, 2,690 health) and two Celestian Constructs (Moon, 2,670 health). There’s nothing special to it, blade yourselves and use a hit all spell, but do remember that the Ice Riverclaws can use Frost Giant and Tower Shield. After defeating this set of mobs, pull the lever and head back to the main room to drain the valve.
Main Room
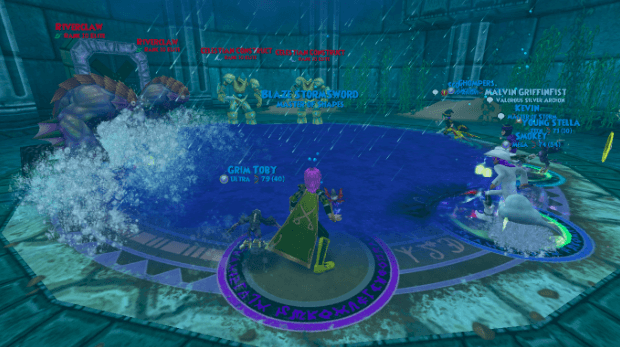
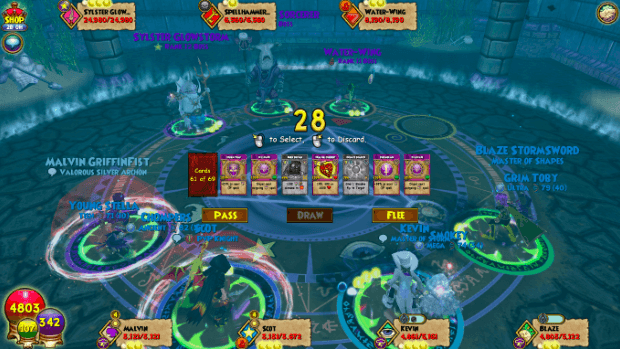
Final Fight: Pull the lever and you’ll be greeted by three bosses. Sylster Glowstorm (Star, 24,980 health), Water-Wing (Fire, 8,190 health) and the Spellhammer Sorcerer (Death, 6,560 health). The enemies might look easy enough at first, but they have some nasty cheats that you must consider.
Sylster Glowstorm: Sylster drops the Waterworks Robe and Boots, as well as mastery amulets. When the battle begins, Sylster will put up a Doom and Gloom bubble and say, “Traps go undetected in the Light”. This means you can’t hit Sylster (or any of his allies) unless there’s a trap on them. It’s important to note that the trap doesn’t have to match the school of attack you’re using. For example, I won’t trigger Sylster’s Ra cheat if there’s a Myth Trap on him, but I choose to hit him with Leviathan instead. Any trap will prevent the cheat.
After four turns pass, Sylster will change the bubble and say, “The blade goes unseen in the dark.” Just like the trap cheat in the previous cycle, you can’t hit Sylster (or any of his allies) unless you have a blade on. If you fail to abide by Sylster’s rules and use a trap or blade in the correct cycle, he will hit you with a powerful Ra at 2,000 plus damage. The Water-Wing uses a weak Rebirth that doesn’t give absorb, and the Spellhammer Sorcerer uses a weak Scarecrow, so their cheats are less of a threat. I recommend counting the rounds so you know when to use Blades or Traps. Hit all spells will not trigger Sylster or any of his allies’ cheats during either cycle, so if you lose track you can safely cast that.
Spellhammer Sorcerer: He will take over Sylster’s Doom and Gloom cheat cycle if you kill Sylster first. He uses a weak Scarecrow if you fail to hit him with a Trap or a Blade.
Water-Wing: He will take over Sylster’s Doom and Gloom cheat cycle should both his allies be defeated. His cheat is a weak Rebirth if you fail to hit with a Trap or a Blade.
Bonus Glitch
Are you tired of running Waterworks, again and again, hoping to get your gear?
In Waterworks there is a glitch to make Sylster re-spawn without running the entire dungeon again. In order to do this, the entire team must remain in the dungeon together. All you have to do is have three of your teammates wait in the room where the battle just completed while the fourth goes into another room inside Waterworks. When the fourth Wizard returns to the team, Sylster will return for another battle. If done correctly, you can have infinite attempts at Sylster’s drops without having to run the dungeon each time.
Final Thoughts: Overall, Waterworks is a fairly simple dungeon with a decent drop rate. Most get their Waterworks gear within a day of farming, which is good because Waterworks gear is crucial to have. That said, I wish everyone the best of luck in farming Waterworks and getting their Legendary gear!