Category: Gear & Fashion
-
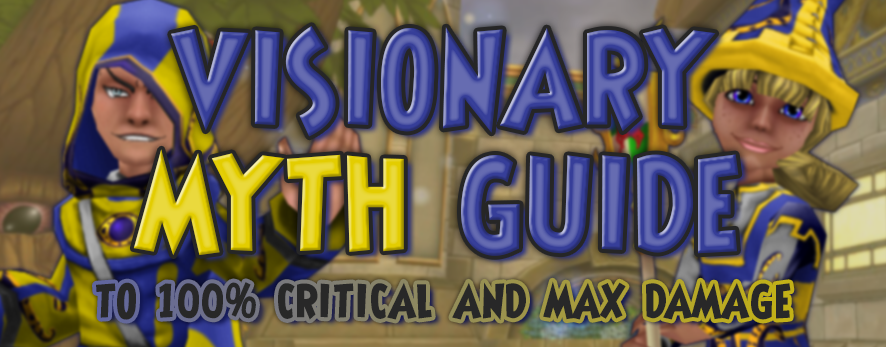
Visionary Myth Critical Guide
•
Note: This guide is created for level 130 myth wizards and requires a pet with 2.0 (max stats) to be successful. Myth School Myth is such an interesting school. Anyone that can take the wrath of Cyrus Drake in the first arc deserves a little respect. The myth school is…
-
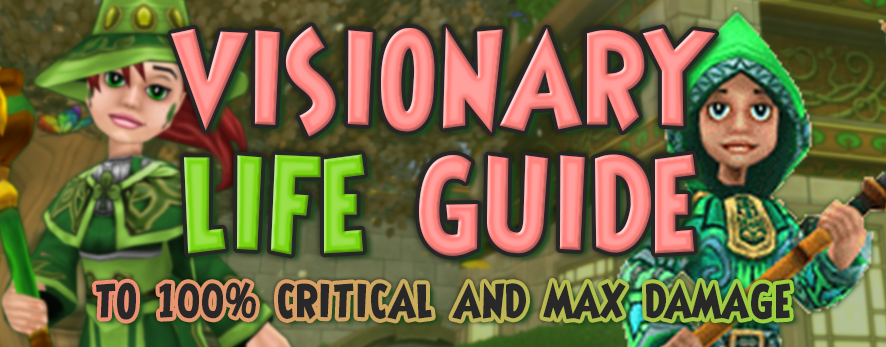
Visionary Life Guide to 100% Critical and Max Damage
•
Note: This guide is created for level 130 life wizards and requires a pet with 2.0 (max stats) to be successful. Life School The Life school is a beautiful school. It’s one of the few schools that can do everything whether it’s tanking, healing, or hitting. Because of this there…
-
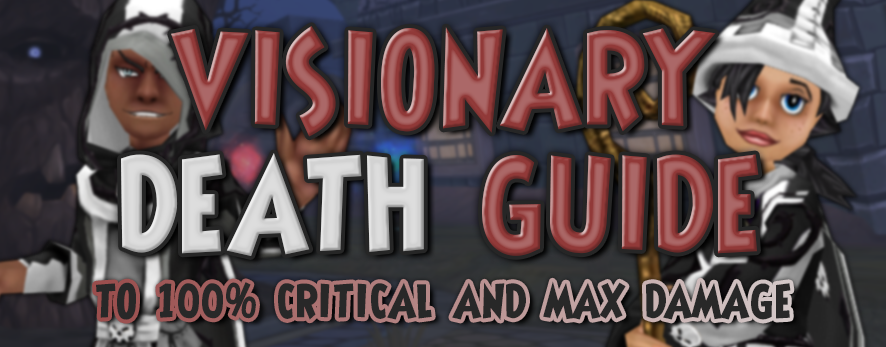
Death Guide to 100% Critical
•
This guide is for level 130 death wizards and may require a 2.0 pet Death School The Death school can be deadly in the arena. It’s a school that specializes in draining the enemy’s health while regaining it’s own. The death school is opposite to the life school, but their…
-
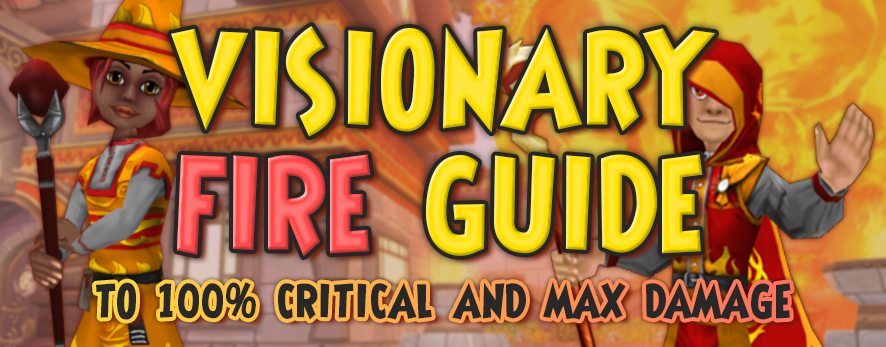
Visionary Fire 100% Critical and Max Damage Guide
•
This is a guide on achieving high damage and 100% critical for Fire school at Visionary, currently max level 130. It is possible for all the schools in the Spiral to attain 100% critical. However, when you boost a particular stat, you decrease others. With this critical and damage build…
-
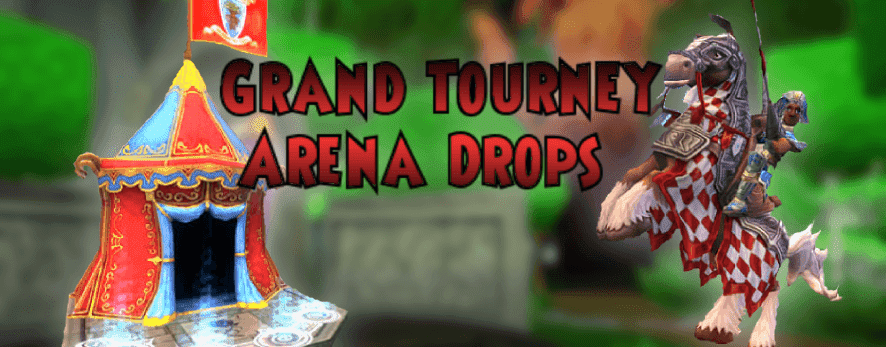
Grand Tourney Arena Drops
•
The Grand Tourney Arena is a housing dungeon that comes with the Grand Tourney Bundle. The dungeon can be accessed through castle tours using a glitch. The drops mentioned in this guide will be for the highest tier. There are 12 pieces of gear (3 sets; each with a hat, robe,…
-
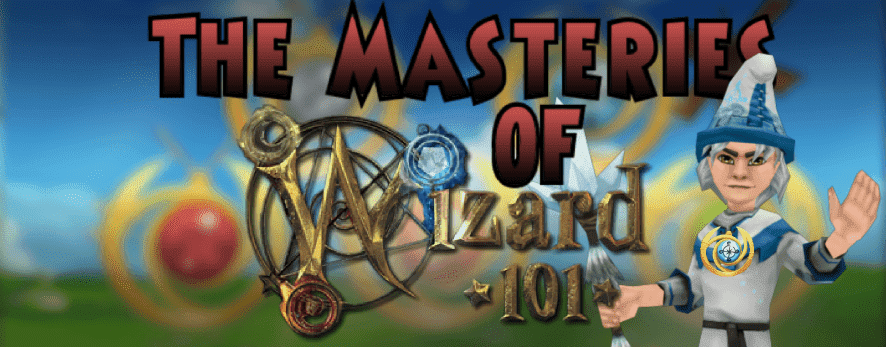
The Masteries of Wizard101
•
Greetings fellow wizards! In this article I will discuss the different type of masteries, where they are dropped and their usage in PvP/PvE. What are Masteries? Masteries are a subgroup of amulets that allow a wizard to use Power Pips with spells that are not of their own school. This…
-
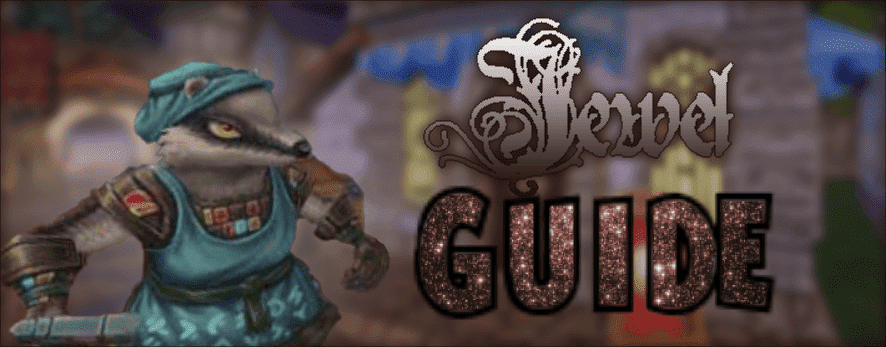
Jewels
•
What are Jewels? Jewels are items in the game that can be added–affixed–to equipment. (Athames, rings, amulets, decks, and even pets!) There are five different types of jewels–circle, triangle, square, tear, and star. Each different shape gives different boosts to stats. Square jewels boost resistance, stun block, critical block, and…
-
Alternatives For Energy Gear
•
The level 120+ Snowdrifter’s Set have the best energy bonus, but what are some other options for those that don’t enjoy spending 3 million crowns on packs? Farm Waterworks (Crown Shop Price: 7995 Crowns) Luska Charmspeak & Sylster Glowworm can drop this full set of level 55+ energy gear, as…
-
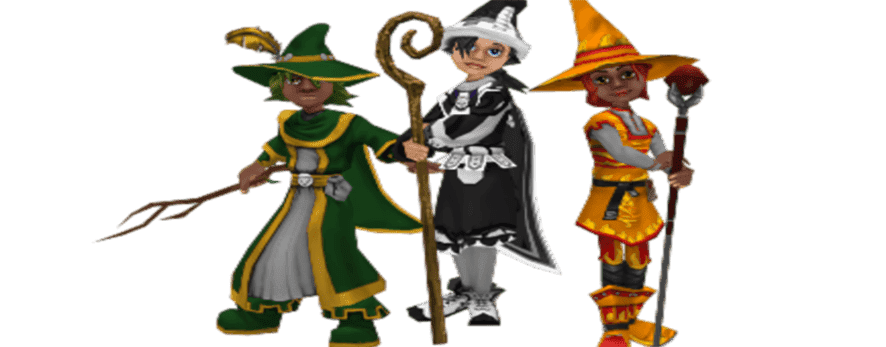
Level 5 Gear Guide
•
Gear choices can be a little bit confusing for a new Wizard sometimes. Here is a guide to help you understand your options and help your level 5 wizard be the best it can be. For 585 gold your level 5 wizard can buy the helm, robe, and boots shown here…