Part of the Summer 2019 update, is the addition of a new challenge! It’s called the Beastmoon Hunt, and it’s not only a challenge but loads of FUN!
I’ve been hearing that there are quite a few people that don’t understand it or are worried that it’s just a PVP event. Well, I’d say it’s more like “Capture the Flag” with touch of PVP added. You can join a hunt by clicking on the icon of Gamma in the upper right hand side of your screen. But I highly recommend you go to the Arena, where the features of the Beastmoon Hunt are located. You’ll want to start by chatting with Artemis New Moon.
Artemis New Moon is the NPC you will start out with. She explains the basics of the hunt.
After joining a match, you will be transported to the Beastmoon Hall, where you will select the Beast Form you wish to play as (Balance Cyclops and Death Ninja must be unlocked by upgrading the tier at the Beast Form upgrade Kiosk). There are 10 Beast Forms available.
When you have selected your form, I advise you speak with Actaeon, to see what extra cards you may purchase from him. You can find Battle Coins in the gold chests that are scattered throughout the hunting grounds. You can also get them from harvesting Beastmoon seeds.
Next to Actaeon, up some stairs, you will see a portal. The portal will be either red or blue, depending on which team you were placed on. When you enter the Beastmoon Hall, a timer starts on the portal. You have 30 seconds from entering the hall until you can go through the portal to the hunting grounds. This gives you plenty of time to stock up on some extra spells.
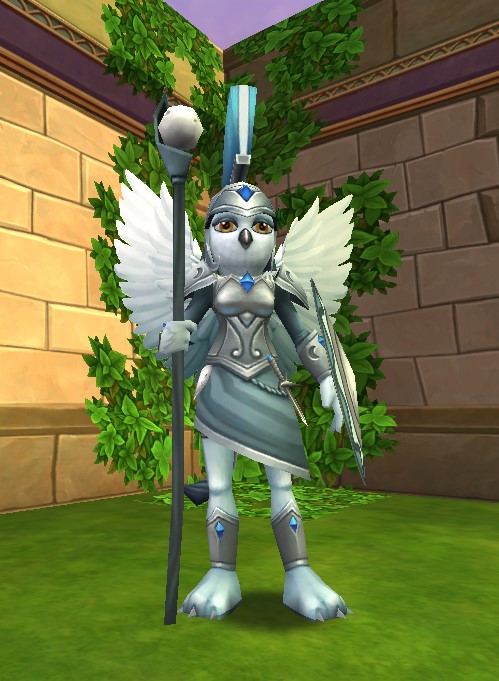
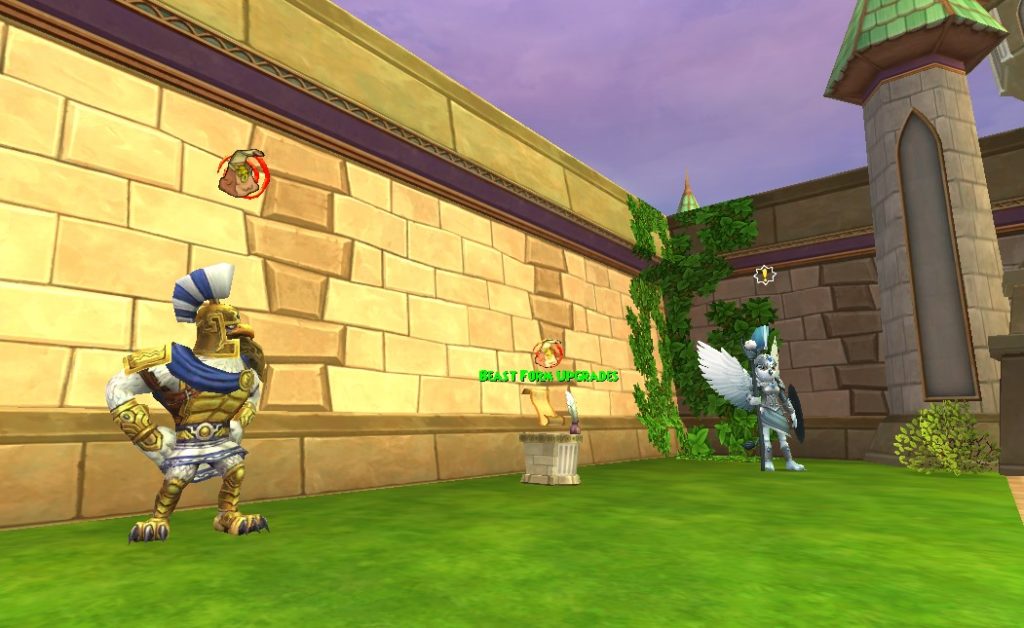
Entering the Hunting Grounds
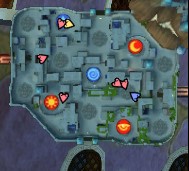
Upon entering the hunting grounds there will be a map in the upper right corner of your screen. You will be able to see where your team mates are (but not the opposing team, unless they are in a battle). Each corner of the map has a ring,each with it’s own designation, Moon, Eye, Sun, and Star. The center ring is named the Spiral.
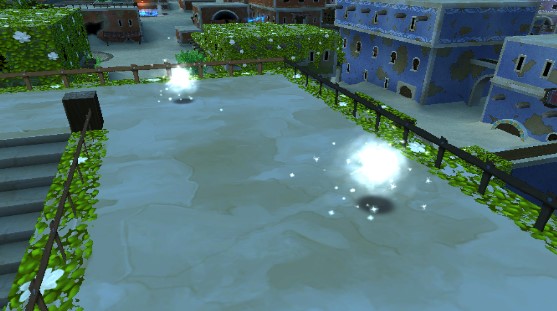
Throughout the hunting grounds you will see Pip Wisps. Collecting these pips will give you an advantage in the next battle you enter, allowing you to start with extra pips(Extra starting pips can make a big difference in a battle). They are only good for one battle, so you will need to get more after each battle.
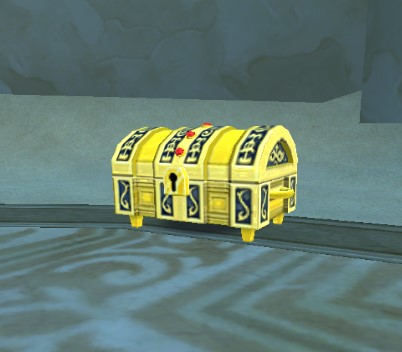
Battle Coins can only be used in the Beastmoon arena. Each team member can collect up to 100 Battle Coins. They will be used for purchasing extra spells from Actaeon in the Beastman Hall. You collect them from the Golden Beastmoon chests scattered through the Hunting Grounds, and from harvesting Beastmoon seeds (You receive these seeds as a reward after a hunt has ended).
Battle Rings are what you want to capture. When you first enter the hunting grounds, they will all be grey. As they are captured by standing on them, they will turn that teams color. The first time a ring is captured it will only take 10 seconds to capture it. If you are trying to capture a ring that is the other teams color, it will take 30 seconds. An exception to that is if more of your team-mates also stand in the same circle, the timer ticks down faster.
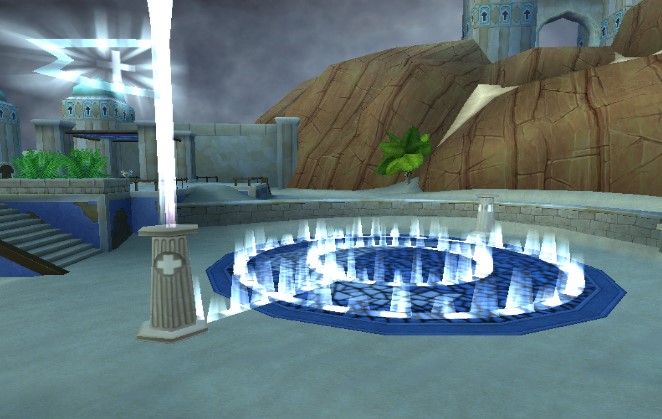
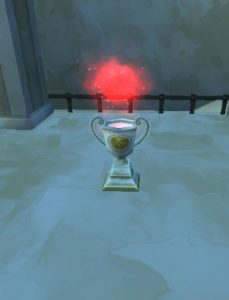
Scattered around the hunting grounds are Health Urns with health wisps in them. Walking up to an urn will restore a portion of your health. You do not automatically recover health after battle, so you will want to use these urns to get back to full health. You can also return to your base through your portal, to recover health.
Located at the top and bottom center of the map, are Yellow Teleporters. They will port you from the bottom of the map to the top or from the top to the bottom. You will want to utilize these to quickly get from one area to another. On the right hand side of the hunting is the teleporter to Blue team’s base and on the left side is the teleporter to Red’s base. You can only use your own team’s porter and base.

Point System
You will gain 1 point for every circle you capture. You also receive another point for each circle you control. If you capture a circle you will gain 1 point. If you capture a second circle, while still having control of the first one, you will gain 2 points (2 for the circle you just captured and 1 for the circle you already control) for a total of 3 points. The more you control, the more points you will receive. It’s very important to control as many circles as you can.
Unlike an empty circle, circles that are challenged by battle will award a lot more points when you capture them. When you win a contested circle you will receive 5 points. The main circle in the center(The Spiral) will give you 15 points if your team wins a battle there against the other team! Winning a circle through battle will award you bonus points based on the amount of circles your team already controls, and, even more points for defeating the opposing team.
You will receive 2 points for defeating an opponent. Points are calculated at the end of the battle, so just defeating one opponent but then losing the overall battle will not award you any points. You must win the battle to receive the points for it. When defeated your opponents return to their base and will receive a 30 second penalty before they can use the teleporter to return to the battle arena. The same applies to you as well, if defeated.
If you flee, it will immediately award the opposing team 2 points, as it is counted as a defeat. Try not to flee unless there is a strategic move for it. If your team is ahead in points and your teammates need help in other circles, then it can be a wise choice. Just like with a defeat, you are sent back to the Beastmoon Hall for a 30 second cool-down, before being allowed to rejoin your teammates. Knowing when to flee or not, can be crucial to the outcome of the hunt.
Rewards
Lunari
Lunari are the coins you collect that are used for all of your Beastmoon-related needs. You use them to level up your rank and to level up your tiers for the various beastforms. They will also be needed to purchase recipes for the special Beastmoon robes and Beastmoon seeds. You are awarded Lunari by winning battles in the Beastmoon event, participating in the Scroll of Fortune and as a reward in your Beastmoon Hunt Panel. You will receive Lunari based on how many points you earned for your team. The more points you earn, the more Lunari you will receive.
Moonstones
Moonstones are special reagents that you will need to upgrade your Beast Form’s levels. They drop from the Beastmoon Hunt and from Beastmoon seeds.
Thread
An easy to get drop that you can receive from the event and seeds. You will need this to craft the Beastmoon Robes, which are available from Actaeon. They drop from the Beastmoon Hunt but if you plan to craft the robes, you will need to get extras by gardening Beastmoon seeds. There are threads for all of the schools.
Beastmoon Seeds
Beastmoon Seeds are special plants that drop Battle Coins, Threads, Moonstones and Idols. You will need these to upgrade your Beast Form level and tier. The different Beastmoon seeds will drop different rewards. They can only be planted in Beastmoon Planters. You will receive 2 planters after your first hunt (win or lose). You will then get a 3rd after your 25th Beastmoon match.
You can get the regular seeds by participating in the hunt, and you can also get them from the hunt rewards panel and from the Scroll of Fortune. Elemental and Spirit seeds are very rare drops. No worries though as you can purchase the recipe for them from Actaeon. The school specific Beastmoon seeds are the rarest of all. They are available only from the recipe purchased from Actaeon. School-specific Beastmoon seeds are one of the only ways to receive the Beastmoon idols needed to get your Beast Form to level 5 and to level up your tier on your Beast Form.
Badges
There are badges galore to be earned by participating in this event. There are badges for unlocking Beast Forms, maxing out Beast Forms, and for unlocking tiers. There are also badges for winning and participating in matches. All total there are 60 new badges, 9 pages in all! How about that! Badge collectors will be hard at work collecting them all.
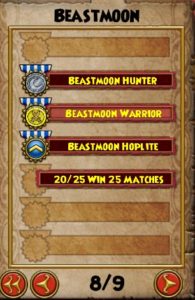
Handy Dandy Tips
- When entering the Hunting Ground, split into groups of 2. Each group will head to a different battle ring. Having more than one team member on the same ring makes the timer go quicker. This will allow you to get control faster.
- Always make sure there is a healer on your team. Familiarize yourself with the healing Beast Form in case no one else assumes that role.
- Collect as many chests as you can, so you have plenty of coins for extra cards.
- After capturing a battle ring use the colored rings in the pathways for a speed boost.
- You must stand on the battle ring, until the color changes for it to be captured. If at all possible always try and have more than one player capturing the ring, so the timer counts down quicker.
- Healing Urns are located near each of the battle rings, always make sure you are at max health after battle.
- And most important of all, have FUN with it!
All in all, I find this to be a wonderful addition to the game and look forward to participating in it again. I hope this has helped you understand the Beastmoon Hunt and gets you on your way to becoming a Beast-Master! Let us know in the comments any tips you might have that I haven’t covered here or just about your experience with this amazing event.

Comments
4 responses to “Hunting for Beasts”
Please please specify when is the right time to capture the rings and when is not. So many go into the matches when it’s close in points and a win at the spiral would win the entire match, thinking that changing the rings and leaving them is a good idea. I’ve had some get rude claiming that the other team will get domination points if they don’t change a ring…. only to leave the ring once they turn it! That would be ok if they defended that ring but they don’t and it only gets changed back by the other team and they gain faster because some will continue to go back and change it over and over. This has cost the game so many times. I really think it’s innocent and they just don’t understand they should not just change it (over and over) and leave it at such a crucial point. Thanks
Regarding the Beastmoon seeds and gardening. It’s said that the regular beastmoon seed grow to elder rather quickly while the school specific take a few hours longer. Has anyone noticed if you do not visit your seed (no matter which one it is) they often stall or grow much slower? I think I have (maybe it’s in my head lol). I also feel like the schools specific are growing to elder faster if I have a regular beastmoon seed near it (again, it may be in my head. Has anyone noticed any of this? I can plant 3 seed before I go to log off for the night only to wake up and find the seed has not even matured to adult. I’ve done some testing and feel if my character is near the seeds or at the same house they seem to mature faster. Let me know what you guys think… I could be losing my mind, who knows? Thanks everyone
I have noticed that as well. If I go in and out of my house, they seem to mature very quickly. I’ll purposely do just that if I need the drops real quick.
Me too Sarai! What about them liking the regular BM seed? Am I imagining this?