Category: Uncategorized
-
The Monquistan Choir
•
Despite its location in an isolated corner of the Spiral, Monquista, rich in gold and culture, is one of its most prominent powers. The Skull Island colonies enrich their people considerably. In line with Valencia and Marleybone, their society is posh and structured in which there is a noble class,…
-
Protect your accounts
•
Greetings Fellow wizards! It has come to my attention that a person has been going around impersonating trusted members of the community. Victims of the scam are asked if they entered a giveaway of 5k crowns. Then they ask for your email. An email is then sent from a fake…
-
The Darkmoor Philharmonic
•
In the first Wizard101 arc we learn the story of Malistaire and Sylvia. Even in death their love holds them together. A dark and mysterious man in a supernatural castle who goes too far. In Gothic literature this is a common theme. This is only fitting for our Phantom of The Opera…
-
Petmaking 101
•
Where to Start The first step of the hatching process is to determine what your end goal is. If you don’t have specific talents in mind, it will be hard to know when you have finally trained your dream pet. If this is your first pet, I recommend going for…
-
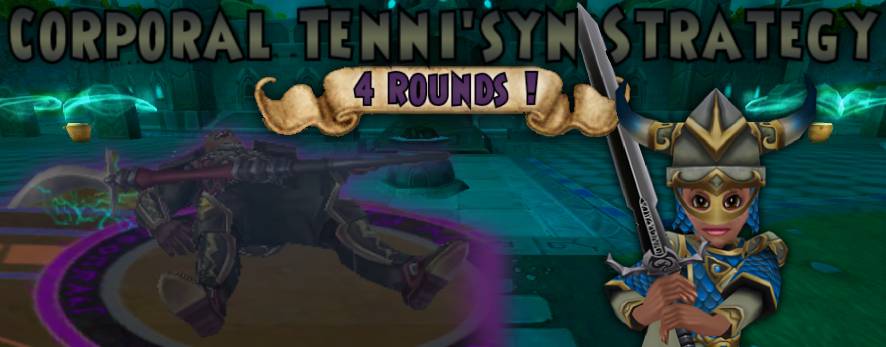
Corporal Tenni’syn Strategy!
•
Corporal Tenni’syn is a Gold Skeleton Key boss found inside the Zanadu Sewers, Empyrea. He drops the best offensive robes for every school, except Storm. Storm wizards will still want to use the Malistaire robe even at level 130. Initially, this boss seems difficult, but with enough knowledge and game…
-
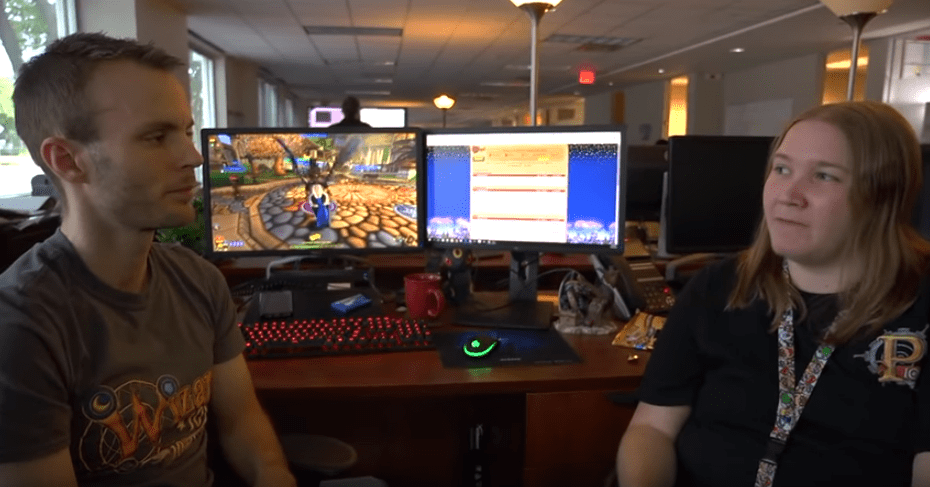
Mathew “Sparck” Anderson
•
Recently the Wizards of Ravenwood Academy brewed up a batch of exciting questions for our amazing, Senior Community Manager Mathew “Sparck” Anderson. Our goal was to get answers to some questions the community has been asking, and Mathew did not disappoint. So, let’s get to it, we are excited to…
-
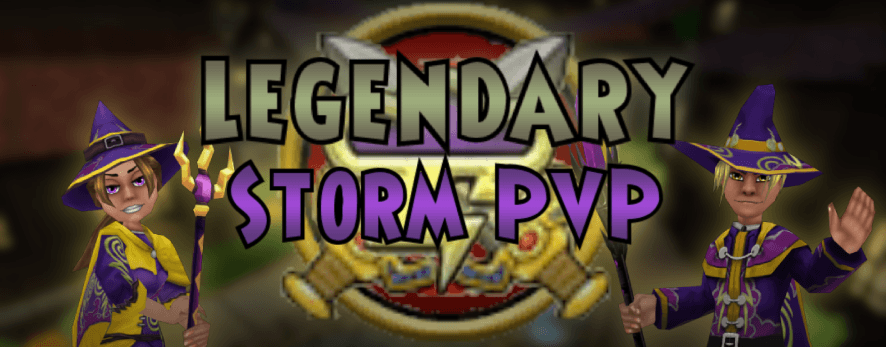
Legendary Storm PvP
•
Hello, and welcome to Legendary Storm PvP. I know, shocking. Why Legendary Storm PvP you may ask? When I was playing Wizard101, back when PvP was popular among my friends, we all liked Legendary PvP. The not so high stats, the no use of shadow pips, the little grind we…
-
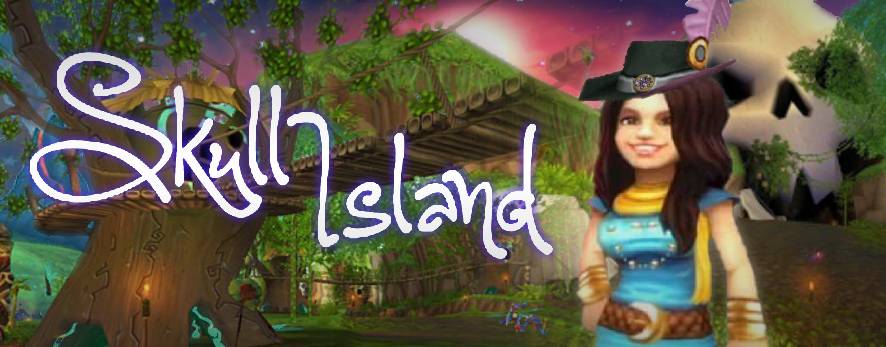
Skull Island’s Tavern Band
•
Somewhere in the Spiral, there’s a refuge for young pirates, orphaned when young who have turned to a life of crime. Marked by skull-shaped mountain, there is danger and treasure lurking all throughout the island region. Whether it’s hoodoo, dueling, brawling, treason, or smuggling, pirates ally with Captain Avery for…
-
The Dragon Titan Army Band
•
Intended for Musician and Non-Musician Alike “Things started turning darker. Kingsisle were talking about dark and epic Mordor Wagner ‘Flight of The Valkyries’ in The Ring Cycle. I am looking at concept art and the NPC characters had Russian military influence; All the architecture was darker – more foreboding.” –…
-

Dorm Decorating: Xmas Edition
•
It’s Christmastime in the Spiral once again! I’m sure all of you are just about as excited as I am (as if that’s even possible!). It’s the most wonderful time of the year and you can show your Christmas cheer with an exciting and original Christmas themed dorm room! I…