Author: Ravenwood Academy
-
Jewels
•
What are Jewels? Jewels are items in the game that can be added–affixed–to equipment. (Athames, rings, amulets, decks, and even pets!) There are five different types of jewels–circle, triangle, square, tear, and star. Each different shape gives different boosts to stats. Square jewels boost resistance, stun block, critical block, and…
-
Power Pips
•
Power pips are a special feature within the game and with good reason. A wizard has a base chance of getting a power pip, starting at level ten. This chance goes up by one percent every level until you reach level fifty, where it is maxed at 40%. Power pip chance can…
-
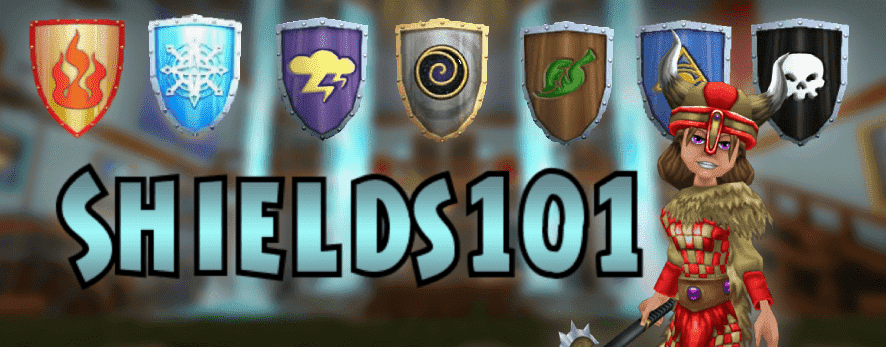
Shields101
•
Shields are a type of ward and are the exact opposite of traps. While traps add damage to a spell, shields detract damage. Charms and blades trigger first, and wards go second. So any shielding you do will affect the spell with the charm buffs. There are three different types of…