Tag: wand
-
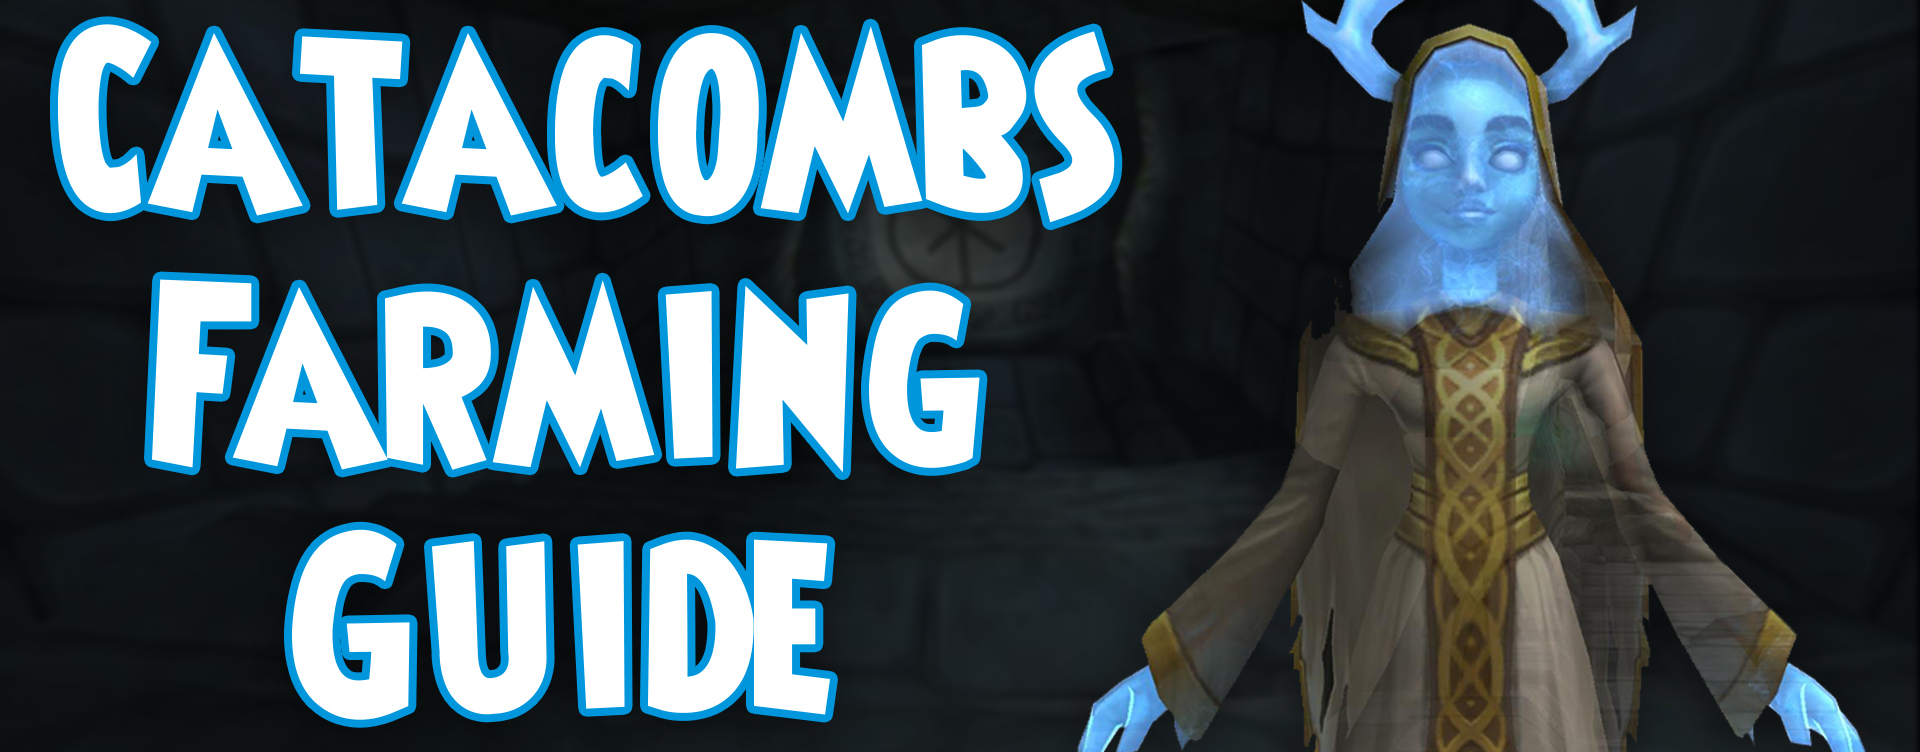
Catacombs Farming Guide
•
Welcome! Hello everyone! Discord community member Hannah here, or Emmaline GhostSong as you may know me in-game. Chances are, you’ve heard that Dragoon Gear is the over-all best for any max-level Wizard. But what is it, and how do you get it? If you have these questions, this is the…
-
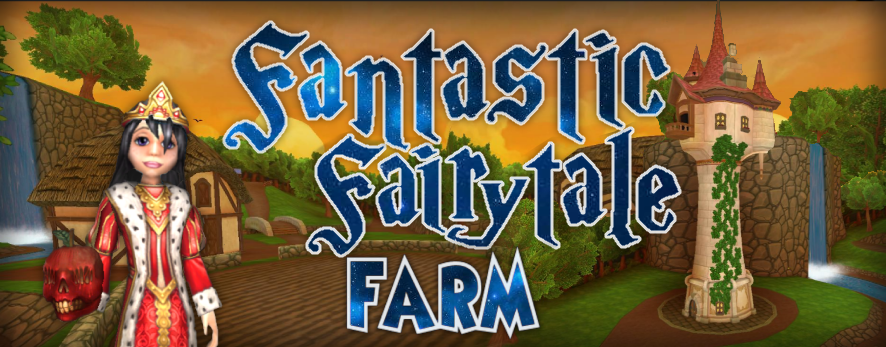
Happily Everafter
•
This incredible new castle is by far one of my favorites! The entire estate is full of fairytales and fables, from Mother Goose to The Brothers Grimm. What truly caught my attention was the morals behind the fairytales represented. I don’t know if KingIsle had an ulterior motive behind their…
-

Visionary Myth Critical Guide
•
Note: This guide is created for level 130 myth wizards and requires a pet with 2.0 (max stats) to be successful. Myth School Myth is such an interesting school. Anyone that can take the wrath of Cyrus Drake in the first arc deserves a little respect. The myth school is…
-
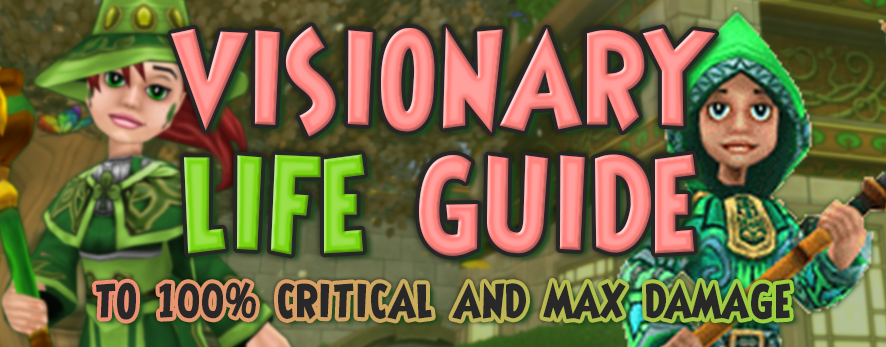
Visionary Life Guide to 100% Critical and Max Damage
•
Note: This guide is created for level 130 life wizards and requires a pet with 2.0 (max stats) to be successful. Life School The Life school is a beautiful school. It’s one of the few schools that can do everything whether it’s tanking, healing, or hitting. Because of this there…
-
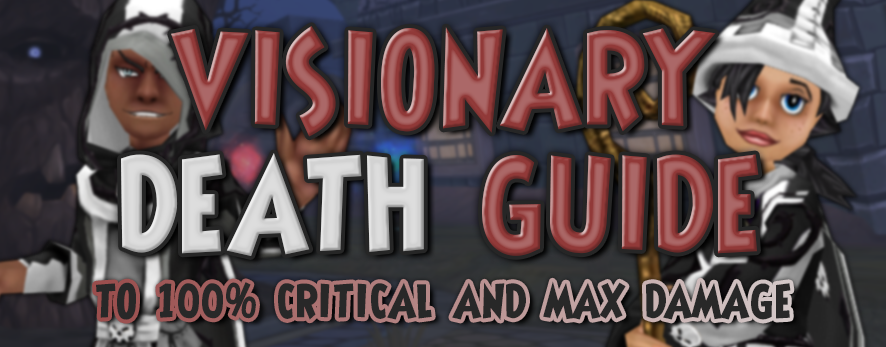
Death Guide to 100% Critical
•
This guide is for level 130 death wizards and may require a 2.0 pet Death School The Death school can be deadly in the arena. It’s a school that specializes in draining the enemy’s health while regaining it’s own. The death school is opposite to the life school, but their…
-

Visionary Fire 100% Critical and Max Damage Guide
•
This is a guide on achieving high damage and 100% critical for Fire school at Visionary, currently max level 130. It is possible for all the schools in the Spiral to attain 100% critical. However, when you boost a particular stat, you decrease others. With this critical and damage build…
-
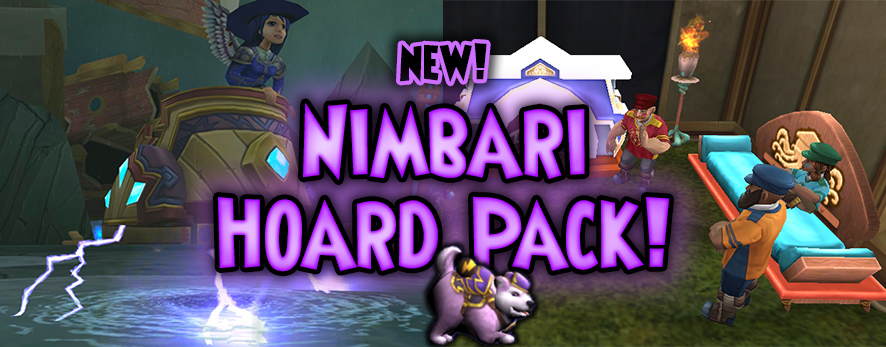
NEW Nimbari Hoard Pack
•
The new Nimbari hoard pack is super awesome and our first pack to release in 2019! With that comes some high expectations and I don’t think it is letting us down! So let’s dive right in! Pets You’re going to get a lot of different pets throughout these packs. You…
-
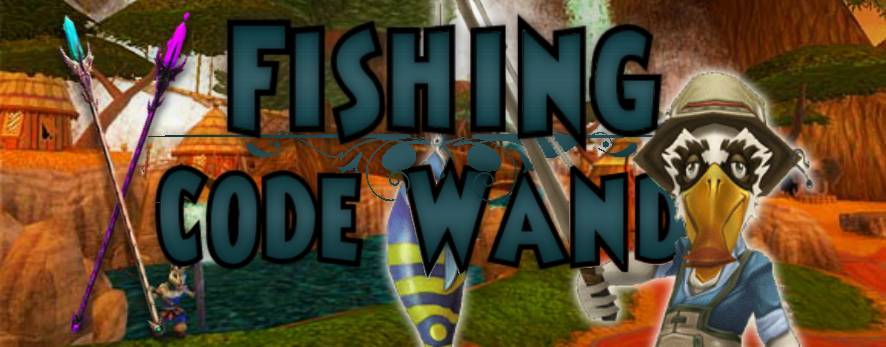
Fishing: Code Wands
•
After the Zafarian fish were updated, chests containing precious code wands that don’t exist anymore as drops from bosses. The code wands are found in various lakes in Zafaria, but let’s focus on a single area in Zafaria that is well known as Elephant Graveyard. Location Zafaria In order: Baobab…
-

Crafting101 – Zafaria
•
Today we will craft two Conga Drums and two Spirit Caller Drums for the quest “Drum a Little Drum” Welcome back to Crafting101, young Wizard! Congratulations on achieving your Grandmaster Artisan Badge. You are now well on your way to becoming a Legendary Crafter. The Zafaria crafting quest is unlike…
-
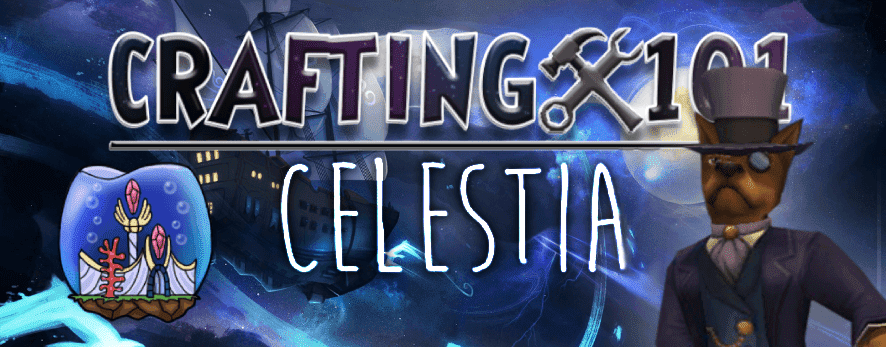
Crafting101 – Celestia | Pt 2
•
Today we will craft a Tea Set for the quest “Time for Tea.” Welcome back to Crafting101. In our second edition of Celestia crafting, we will go over Odgen Peake’s Tea Set request. You will find him in Survey Camp, Celestia, down the left path when arriving from the Spiral…