Tag: shoe
-
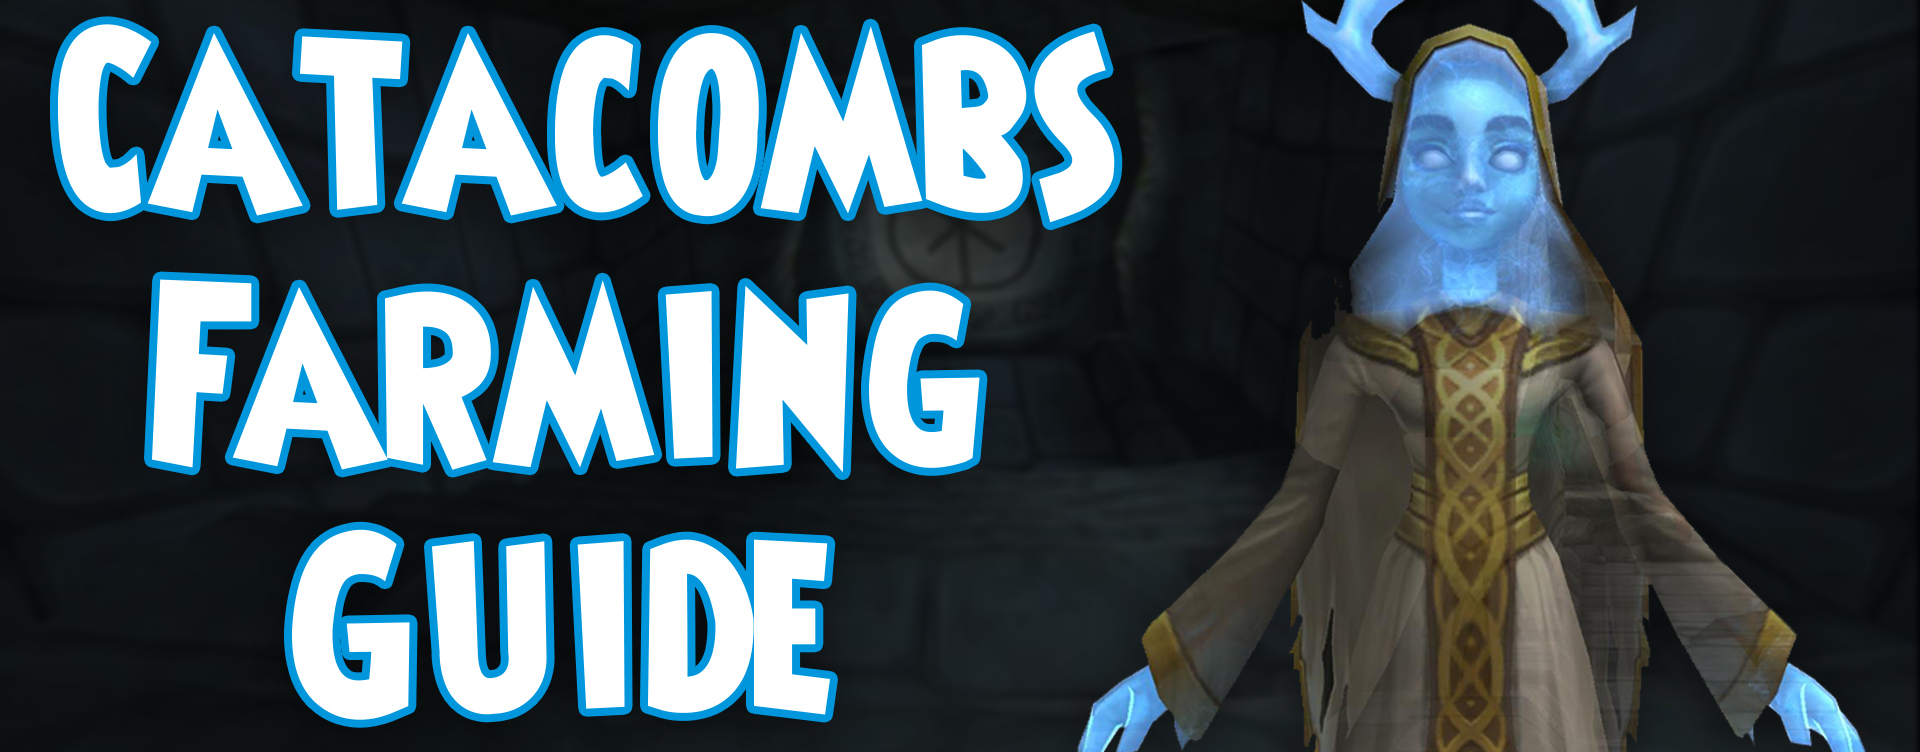
Catacombs Farming Guide
•
Welcome! Hello everyone! Discord community member Hannah here, or Emmaline GhostSong as you may know me in-game. Chances are, you’ve heard that Dragoon Gear is the over-all best for any max-level Wizard. But what is it, and how do you get it? If you have these questions, this is the…
-

Crafting101 – Azteca
•
Tonight we will learn how to craft an Eagle War Shield for Oztomeca’s quest, “Making the Grade.” Welcome back to Crafting101, young Wizard! After achieving Legendary Artisan, you will work to become a Transcendent Crafter. You may teleport to a friend to reach Oztomeca, like most other crafting quests. You…
-

Crafting101 – Zafaria
•
Today we will craft two Conga Drums and two Spirit Caller Drums for the quest “Drum a Little Drum” Welcome back to Crafting101, young Wizard! Congratulations on achieving your Grandmaster Artisan Badge. You are now well on your way to becoming a Legendary Crafter. The Zafaria crafting quest is unlike…
-
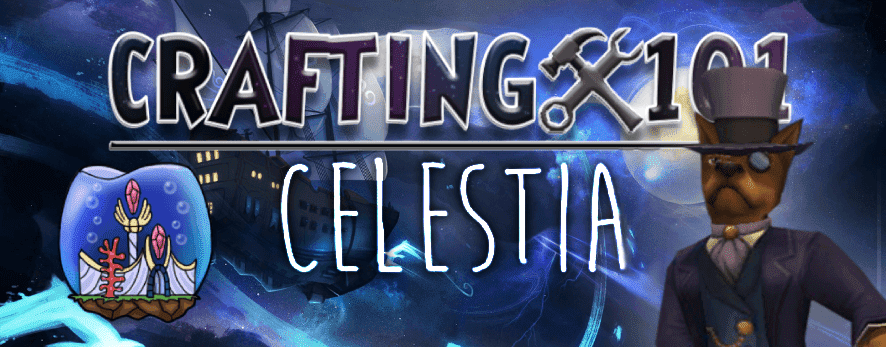
Crafting101 – Celestia | Pt 2
•
Today we will craft a Tea Set for the quest “Time for Tea.” Welcome back to Crafting101. In our second edition of Celestia crafting, we will go over Odgen Peake’s Tea Set request. You will find him in Survey Camp, Celestia, down the left path when arriving from the Spiral…
-
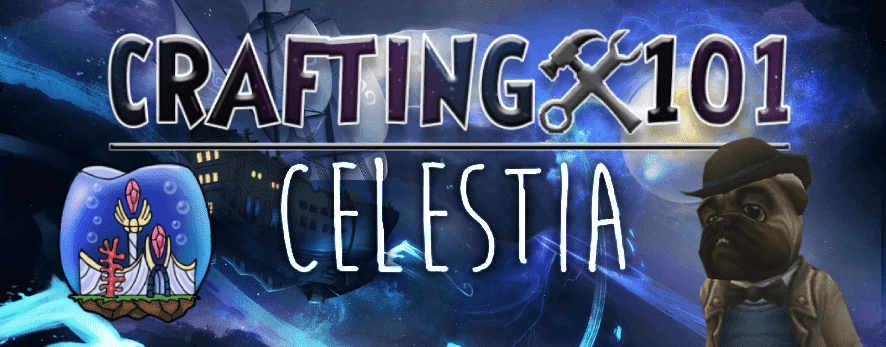
Crafting101 – Celestia | Pt 1
•
Tonight we will be learning how to craft The Seal of The Seven Seas for the quest “That Seven Seas Show” Welcome to Crafting101 young wizard, or welcome back if you’ve been following along on our journey. Now that you have achieved your Master Artisan Badge, you are well on…
-

Crafting101 – Dragonspyre | Pt 2
•
You didn’t think we were only going to cover the Life recipe and not the other schools did you? Well, if you did, don’t worry, we’ve got you covered! As we mentioned in Part 1, for your second crafting quest, Balthazar Dragonthorn gives you a quest that corresponds with your…
-

Crafting101 – Dragonspyre | Pt 1
•
We’re back with another Crafting101 issue. Lets explore the crafting quests in one of my favorite main worlds, Dragonspyre! Balthazar Dragonthorn The next crafting badge you can earn is your Master Artisan badge, but first, you must complete all of the crafting quests Balthazar Dragonthorn gives you. Balthazar is found to your right after you…
-
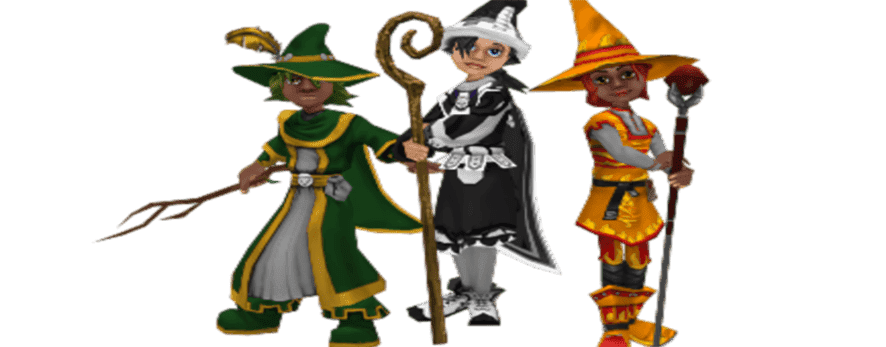
Level 5 Gear Guide
•
Gear choices can be a little bit confusing for a new Wizard sometimes. Here is a guide to help you understand your options and help your level 5 wizard be the best it can be. For 585 gold your level 5 wizard can buy the helm, robe, and boots shown here…
-
Crafting101 – Mooshu
•
Hello and welcome to the fourth installment of Crafting101 Wizard! Now that Marleybone is finished it is time to leave the big city and move on to greener pastures… Mooshu! STEP 1 – TOSHIO To get the next crafting quest you will need to find and talk to a little…
-
Crafting101 – Marleybone
•
Welcome to Crafting101 Wizard, or welcome back if you have been following along on this journey. Now that you have achieved your Apprentice Crafting Badge, I am sure you are excited to get the next badge, the Initiate Crafting Badge. Before you can begin this quest you need to get…