Crafting101 – Zafaria

Today we will craft two Conga Drums and two Spirit Caller Drums for the quest "Drum a Little Drum"

Welcome back to Crafting101, young Wizard! Congratulations on achieving your Grandmaster Artisan Badge. You are now well on your way to becoming a Legendary Crafter. The Zafaria crafting quest is unlike any other crafting quest. You cannot complete this quest by teleporting to a friend to access the trainer early as you could with the others. You must complete the quest “To Market, To Market,” before being able to collect his quest.

Koyate Ghostmane

After completing ‘To Market, To Market,” Koyate Ghostmane will have the quest for you. You can find him near the large hollow log in Baobab Market. He is the first lion you see when you enter the area. Once you talk to him, you get the quest “Drum a Little Drum.” This quest requires you to craft two Spirit Caller Drums. The recipe for the Spirit Caller Drums will automatically go into your recipe book.

You will notice that you need Conga Drums for the Spirit Caller Drums recipe. These will also need to be crafted. Gearwise sells the Conga Drum recipe for 4,755 gold. You can find him in Survey Camp, Celestia.

The Recipes

There are many reagents required to craft both of these drums. Below is a list of all the reagents you will need in order to craft them.

Conga Drum

You need two Conga Drums to make the two Spirit Caller Drums. In previous worlds, we crafted two items twice. Now we will learn how to craft items that are an ingredient in other recipes. This is an essential tool if you plan to craft a house, such as The Wyrd or The Treetop Getaway.

Legion Shield

The Spirit Caller Drums need 8 Legion Shield treasure cards between them. These have a chance of being harvested from White Tiger Lillies or Missile Toe plants. If you’re lucky, you may find this Treasure Card in the Bazaar. It’s price ranges from 540 gold to 1013 gold.

You can farm Winter Skulls in Nordrilund and Nastrond for a chance at this treasure card. These places are in Wintertusk, Grizzleheim.

Giant

Our Conga Drum recipe requires four Giant treasure cards. The easiest place to find this treasure card is from the Archivist in Celestia. You can also harvest Giant from Sunion plants.
 
Dromel Merchant, Lost & Found, and the Treasure Chest all have this item as one of their daily rewards. Avery Templeton’s treasure card recipe is listed below under ‘Transmute Recipes.’
 

Amethyst

The bright violet accent in the Conga Drums requires 2 Amethysts. Amethysts aren’t found in the Spiral. Buy them from vendors like Al Saf’wan or Campbell Hodgson for 15 gold per gem. Harvesting plants such as the Fortune Cookie Tree, Ivy League, and Snap Dragon can also give you this card.

Perfect Onyx

The Spirit Caller Drum recipe requires 4 Perfect Onyx. Noxolo Fasttrack and other reagent vendors sell them for 100 gold each. Noxolo lives within the large hollow log in Baobob Market, Zafaria. Additionally, Perfect Onyx may harvest from Ivy League and Maelstrom Snap Dragons.

Crystal Vial

The Conga Drums recipe needs 2 Crystal Vials. It is a pricey reagent when bought from a vendor or the Bazaar. The vendors in Wysteria, Mooshu, and Dragonspyre sell them for 330 gold.

Buying them from the Bazaar can cost between 165 to 1650 gold each. Their cost depends on how many are available. Harvesting Pink Dandelion can also get you some of these vials.

Pristine Vial

Four Pristine Vials are in the Spirit Caller Drum recipe. Pristine Vials are either bought or harvested. Archytas sells these for 500 gold each. Also, if you grow the Maelstrom Snap Dragon, you will have a chance at harvesting this item.

Black Pearl

There are 28 Black Pearls in our Spirit Caller Drum recipe. Black Pearls are a challenging reagent to find. It can be a rare harvest from Black Lotus or regular Pearl. You can also buy Black Pearl from Diego for 175 arena tickets. The Bazaar has them available for 188 – 1875 gold each.

A few gardening options are: Alligator Pear Tree, Deadly Fly Trap, King Parsley, and Ultra Tiger Lily. The transmute Recipe is listed below.

Golden Pearl

The gold accent in the Spirit Caller Drums calls for 16 Golden Pearls. These are a rare harvest from pearls found in many underwater places in the Spiral. This includes Stormriven Hall, The Grotto, The Portico and Waterworks in Crab Alley.
 
This reagent can be harvested from Maelstrom Snap Dragon, Evil Magma Peas, Deadly Helephant Ears, and Fickle Pickles. The Gorilla, Minotaur, Magic Eggs, and Dragonfly all have this item as one of their daily rewards. The transmute recipe is listed below.

Sunstone

18 Sunstones are required for our Spirit Caller Drum recipe. These are a rare harvest from sandstone.

Sunstone is harvestable from Maelstrom Snap Dragon, Evil Magma Peas, Fickle Pickle, and Deadly Helephant Ears. The transmute recipe is listed below.

Aether

12 Aether will be required in order to complete both sets of drums. This is a rare harvest from Kelp and Shells. You may harvest this reagent from Deadly Helephant Ears, Evil Magma Peas, Fickle Pickle, King Parsley, and Maelstrom Snap Dragon.

You also might get this reagent from housing rewards. This includes The Dragonfly Ride, Dromel Merchant, Giant Gorilla and the Horn of Plenty. If you have arena tickets, Diego sells Aether for 200 tickets each. The transmute recipe is listed below.

Shell

16 Shells are in our Conga Drum recipe. This reagent is common in Celestia. Shells can be found in places such as Base Camp, Stormriven, District of the Stars and The Grotto. They’re also in Wizard City’s own sunken Triton Avenue, Crab Alley.

You may be lucky enough to harvest this reagent from Fickle Pickles and Maelstorm Snap Dragons. The transmute recipe is below.

Fossil

24 Fossils are required to craft our Conga Drums. This is a rare harvest from Stone Blocks. They can be found in places like Stone Town and Waterfront, Zafaria. Buying this reagent from the Bazaar can range from 100-1000 gold each. The transmute recipe is listed below.

Scales

The Conga Drum recipe requires 8 scales. You might harvest this reagent from Maelstrom Snap Dragons. Additionally, there is a chance to receive this item from The Magic Eggs housing reward instance. This reagent goes for 400-4000 gold in the Bazaar. You can find the transmute recipe below.

Transmute recipes

Giant

Giant is available from Avery Templeton in Base Camp, Celestia. You can buy it for 150 gold. The recipe requires 1 Peridot, 5 Pearl, and 3 Black Lotus for each Giant treasure card.

Black Pearl

The Black Pearl transmute recipe is available from Toshio in the Jade Palace, Mooshu. It sells for 400 gold. You will need 15 Black Lotus per pearl.

Golden Pearl

15 white pearls make up a golden pearl. Avery Templeton sells this recipe for 600 gold.

Sunstone

Sandstone can create sunstone. Sandstone is a rare drop from Stone Blocks. Sandstone is common in the Savannah and Stone Town. You can also find it in the Khonda Desert. This recipe is available from Avery Templeton for 150 gold.

Aether

You can make Aether with 15 kelp. Kelp is located in Celestia and Crab Alley. The recipe is available from Avery Templeton for 600 gold.

Shell

Shells can be created with 10 Scrap Iron. This recipe is sold by Avery Templeton for 600 gold. Scrap Iron can be collected in Marleybone.

Fossil

This recipe requires 15 Stone Blocks. It is available from Balthazar Dragonthorn in The Atheneum, Dragonspyre for 200 gold. Stone Blocks can be found in Celestia and many other places in the Spiral.

Scales

Scales can be created by using 5 Fish Fins. Transmute Fin uses 5 Scales. Both recipes are sold by Avery Templeton for 800 gold.

Completion

Now that you have all of your ingredients go back to your Housing Crafting Station. Craft the Conga Drums, then the Spirit Caller Drums. Once you have turned in the quest you will be awarded 7,981 gold and your Legendary Artisan badge. Congratulations, young Wizard! 

Thank you Starlights, for joining me in crafting and collecting reagents! Catch our next edition of Crafting101 in Azteca, where we will craft an Eagle War Shield.

Catching the Kiliman Copperleaf Doodlefish

Every Monday morning the weekly tournament fish changes. In this article, I will share my experiences with the fantastic hobby of tournament fishing!

Kiliman Copperleaf Doodlefish

Life School | Rank 2 | Common /Regular |1500 XP

Αverage sale price in gold: 700 each

Used in recipe:Pet Bread Crumb

Ingredients:

1 Merle Doodlefish
1 Satyr Doodlefish
1 Zeus Doodlefish
1 Pacal Doodlefish
1 Goliath Doodlefish
1 Kiliman Copperleaf Doodlefish
1 Nalia DuneStrider Doodlefish
1 Flytrap Doodlefish

Vendor:
Jackie Whisperflame/Wizard City – Pet Pavilion – West Ende Girls Snack Shop  (5,000 Gold)

Limits:

Small Fry: <10

Whopper: >40

Fish Location:

Housing Items:
The Sun Palace

How to catch a Whopper:

In the same area, the Sumo Koi fish is available to be caught. It is the same rank, same school but different size in whopper. The Kiliman Copperleaf Doodlefish‘s shadow in the water is 40 in length for a whopper and the Sumo Koi’s shadow is 35 in length. Also, the Doodlefishes always swim faster than other fishes.

How to find this fish:

  1. Common Vitality Lure/ Winnow Rank 3 Fish/ Reveal Large Fish
  2.  If no fish are affected: Summon Fish and repeat
  3.  If a fish is revealed: Charm Fish / Minor Vitality Lure and catch it.

Advice:

The Sun Place has two ponds that link together for the fishing spells. So, it is unnecessary to repeat the spells when you go inside in the second pond.


The first 3 winners will get tournament tickets:

First place: 120 tickets
Second place: 50 tickets
Third place: 20 tickets

The Tournament end on the 17/12/18

Good Luck!

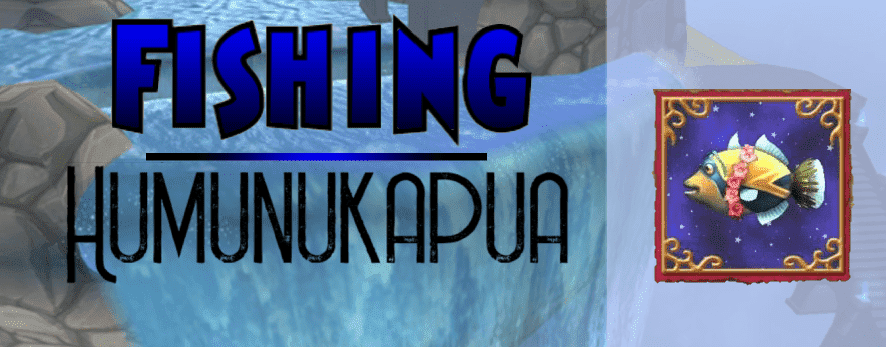
Catching the Humunukapua

Every Monday morning, the weekly tournament fish changes. In this article, I’m going to share my experience with the fantastic hobby of tournament fishing!

Humunukapua

School Life | Rank 3 | Common/Regular |1500 XP
No used in any recipes
Αverage sale price in gold: 1300 each

Limits:

Small Fry: <15
Whopper: >45
 

Fish Location In order:

Celestia/Celestia Base Camp/The Floating Land
 
Housing Items:
Fantastic Voyage Expedition
 

How to catch a Whopper:

The best place is the Fantastic Voyage Expedition if you have access to it. The Humunukapua is one of 2 life fish. The other being the Mistletoe Angler, although this is a seasonal fish which only appears during the Yuletide season and is a Rank 1 fish.
 

How to find this fish:

1. Reveal Large Fish / Reveal Fish School
2. If no fish are affected: Summon Fish and repeat
3. If a fish is revealed: Reveal Rank 1 fish
4. If no fish are affected: Common Vitality Lure and catch it
 
The first 3 winners will get tournament tickets:
First place: 120 tickets
Second place: 50 tickets
Third place: 20 tickets
 
The Tournament end on the 10/11/18
 
Good luck!

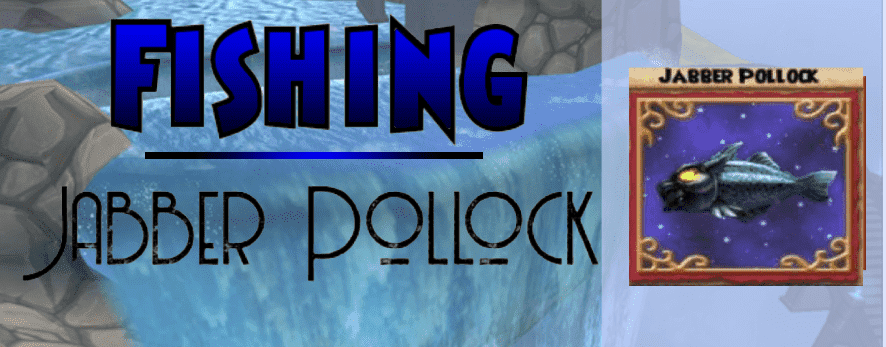
Catching the Jabber Pollock

Every Monday morning the weekly tournament fish changes. There are fishing secrets I can tell you. I want to share with you my experience in the fantastic world of wizard101 tournament fishing!

This week we have the Jabber Pollock:

School Myth | Rank 2 | Common/Regular | 1400 XP
 
Limits:
Small Fry < 15
Whopper > 25
 
Fish Location in order:
Avalon/High Road/ Poisoned Well
 
No used in any recipes
 
Αverage sale price in gold:
500 each
 

How to catch a Whopper

The only place we can find it is the dungeon: Poisoned Well. Be careful, because you must finish the battle first. So prepare your gear or your deck for a fight before you go in. Once you get to it, Jabber Pollok is the only myth school fish in the pond.


How to find this fish in order

1. Reveal Fish School/Reveal Large Fish

2. If no fish are affected Summon Fish and repeat
3. If a fish is revealed – Minor Fable Lure or / Common Fable Lure and catch it.

The first 3 winners will get tournament tickets:
First place: 120 tickets
Second place: 50 tickets
Third place: 20 tickets
 
The tournament end in 19/11/18
Good luck!

Energy Saving Tips

Hey everyone!

Just sharing something I found out recently that might increase your energy efficiency while training pets. Let me know what you think!

First things first.....

Before I start, consider getting some energy gear if you don’t already have some! I made a guide you can check out here for some ways to get energy gear without emptying your crowns wallet.
 
Also, you should never use snacks that give less than 8-10 XP unless you are completely broke. It’s just so inefficient. Sell them if you have them, and buy the rank 7 snacks from the bazaar. (If the snack is the same school as your pet, that’s a plus too.) You may already have some rank 7+ snacks from bosses you have fought while questing or farming, so you shouldn’t always have to buy when you run out of mega snacks.

Back to the point.....

This mainly applies to people that have a limited number of mega snacks. If you have like 400+ in that tiny little backpack of yours, keep doing what you’re doing.
 
You wanna make the most out of your precious, limited supply of mega snacks?
DON’T USE THEM.
(Well, not yet at least.)
 
This may not make sense at first, but trust me here. Consider this: regardless of what level your pet is, the same snack will always give the same amount of xp.
 On the other hand, the level of your pet DOES decide how much energy you spend per game during training.
 
But why does that matter?
 
Theoretically, you’d want to spend more time at the lower levels to take advantage of the cheaper energy cost. The better snacks will level you up faster (which is the goal), but that gives you less time at the lower levels. And there’s no way using worse snacks can be more effective……right?
 
Not necessarily.
 
Still kinda confusing right? Well check out this example!
 
Imagine you begin training a pet, and have these two snacks in your backpack:
 
Fancy Yogurt (x5)
Shanta Pudding (x13)
Pet: Baby (0/125 xp)
Naturally, you want to rush straight to Teen using those Fancy Yogurts right? Well, 3 snacks will level you up. Here are the results:
 
Pet: Teen (25/250)
Games Played: 3
Energy Cost per Game: 2
***Energy Used: 6***
Remaining Snacks:
Fancy Yogurt (x2)
Shanta Pudding (x13)
Now, assuming you play 15 more pet games and used the remaining Fancy Yogurts and all the Shanta Puddings, you would just barely make it to Adult. Here are the results:
 
Pet: Adult (5/500)
Games Played: 15
Energy Cost per Game: 4
***Energy Used: 60***
Remaining Snacks: None
 
Overall to get from Baby to Adult, it took 66 energy and all 18 snacks. We used the mega snacks first, which is typically how people train their pets.
 
Now, lets see if what happens when we take the same situation, but start by feeding the Shanta Pudding instead of the Fancy Yogurt.
 
Since it only gives 10 xp, you will need all 13 snacks just to get to Teen. Results:
 
Pet: Teen (5/250)
Games Played: 13
Energy Cost per Game: 2
***Energy Used: 26***
Remaining Snacks:
Fancy Yogurt (x5)
Shanta Pudding (x0)
 
Then, you continue to Adult by using the mega snacks. Results:
 
Pet: Adult (5/500)
Games Played: 5
Energy Cost per Game: 4
***Energy Used: 20***
Remaining Snacks: None
Notice the difference yet? In both cases, you played 18 games, used 18 snacks, and ended up right at Adult.
 
The difference? Energy. In the first scenario, 66 energy total was used. But in the second scenario, only 46 energy was used.
 
You literally saved 20 energy from baby to adult just by feeding snacks in a different order.
 
The concept is pretty simple: by spending more time at lower levels, you decrease your energy usage overall. This was just an example, so I used specific snacks and only did 2 levels of training, but the same idea applies for any other situation.
 
The longer you wait to use your mega snacks, the more energy you will save in the long run.
 
Yes, it will seem like it’s taking longer at first. Even in the example, it took 10 games longer just to get to Teen. But if you’re in it for the long haul, you will appreciate the extra energy and less time spent at the higher levels.
 
Personally, I like to wait until my pet is Ancient (mainly because I have an absurd amount of the +15 xp snacks) before I start using my rank 8 and 9 snacks. If your pet fails early, you can rest easy knowing that no mega snacks were wasted. This also allows you to speed through those expensive 8-10 energy games as quickly as possible, which saves a ton of energy.
This concept does also apply during double xp, but the biggest priority in that case would be to use all of your mega snacks before the event is over. The sheer volume of double xp is worth more than saving some energy, but it is entirely possible to do both.
 
Like I mentioned at the beginning, if you just have limitless mega snacks (and I know at least a few of you gardening monsters do), then ignore this completely, as it won’t help you. The goal is to speed through the higher levels to avoid high energy costs per game; but if you can speed through the entire thing with only mega snacks, then you do you.
 
For those of you that made it this far, I appreciate you taking the time to read this post! Do you think this is effective? Leave a comment below!
 

By Community Guest Author: NinjaDudeb12

Couch Potato Farming for all Levels

Anyone who has ever tried to hatch the perfect pet knows how important Mega-Snacks are. Mega Snack Packs are expensive and only help a little bit. The best and easiest solution is to grow Couch Potatoes, but how can we get them without spending all of our Crowns? Depending on your level, you have some great options old and new.

In my opinion, the absolute best place is the 5 Boxes quest box in Wizard City. This special event quest isn’t always in the Spiral, but when it is you will find it in a free to play area near the Bazaar. Meaning, even the newest Wizard with no membership has a pretty decent chance of getting this valuable Crowns seed. Super generous of KI! Be sure to take advantage of this opportunity the next time it comes to the Spiral!

Once you have reached level 20 you can access Grizzleheim. The classic mob to fight for Couch Potatoes here is the Splithoof Barbarians in Boars Camp, Savarstaad Pass. This is one of the first areas you open when you get to Grizzleheim. It can be a grind farming this area, but it is accessible at a pretty early level in the game. For better drop chances, I find that switching realms every 10 fights or so helps.

Hands down, the best and easiest place to get this drop if you have a higher level Wizard is from the Death Ghultures in Mirage. This is one of the very first quests you get when you open Mirage. If you head towards Caterwaul Canyons, starting from the World Door, they are the first mob you see. They are a pretty easy kill at the required level to reach them with only 2,450 health. The drop rate is far more generous than it is in Grizzleheim or Wizard City. As a bonus, Evil Magma Pea drops here too.

There are many more places to farm for this drop, especially in the two worlds I talked about. These are my favorites mainly because of ease of access and reliability of drops. With luck and perseverance before you know it, you will have a garden that looks like this!

Good luck Wizards, see you out there!
             ~ Amber Ravynsong

Alternatives For Energy Gear


The level 120+ Snowdrifter’s Set have the best energy bonus, but what are some other options for those that don’t enjoy spending 3 million crowns on packs?

Farm Waterworks

(Crown Shop Price: 7995 Crowns)

Luska Charmspeak & Sylster Glowworm can drop this full set of level 55+ energy gear, as well as mastery amulets and Rank 9 mega snacks.

Farm Mirror Lake

(Crown Shop Price: 8995 Crowns)

This full set of level 70+ gear drops from various parts of the dungeon. The first battle (Tse-Tse Snaketail) drops the hat, the second battle (Elephant Spectral Guardian) drops the robe, and the fourth battle (Starburst Spiders) drop the boots. Additionally, this dungeon is guaranteed to drop two Rank 8 mega snacks every run.

Farm Grand Tourney Arena

(Hoard of the Hydra Pack Price: 399 each)
The Grand Tourney Arena is a housing dungeon, which can be done without a membership. The last two battles of this dungeon can drop all 3 pieces of the Pixie’s Encanta Set, originally from the Hoard of the Hydra pack.
 
While the level of the gear drops ranges from “Any Level” to “Level 100+” based on your level and the tier of the dungeon, it’s one of the best sets of energy gear available for all levels. The Level 50+ Set is better than the one from Waterworks, and the Level 70+ Set is better than the one from Mirror Lake.

This dungeon also drops other gear and and some nice snacks. For a complete list of drops, click here.

Farm Spiral Cup Gauntlet

The Spiral Cup Gauntlet is a housing dungeon that drops the Greenwarden’s Energetic Set, which can be acquired from the Wyvern’s Hoard Pack, but unlike the previous dungeon it only drops up to “Level 90+” gear.
 
If you compare the highest level energy gear from each of these dungeons, the Level 90+ Greenwarden’s Energetic Set is slightly more favorable with 1 more energy in the robe and the boots. Despite this, more people prefer to farm Grand Tourney Arena for the additional snacks and other drops.
The picture for the Level 90+ Version is currently missing.
(Wyvern’s Hoard Pack Price: 399 each)

Farm the Telegraph Boxes

(Wyvern's Hoard Pack Price: 399 each)

The 5 B.O.X.E.S Event, each of these dungeons drop the Greenwarden’s Energetic Set at a level corresponding to its world. The highest level available as a drop is the Level 80+ version of the set, which comes from the Avalon Telegraph Box

While the Spiral Cup Gauntlet does go up to Level 90+, the Telegraph Boxes allow you to use the “team up” feature which makes it easier to farm. It is known to have much higher drop rates, but it is a seasonal event that only comes a few times a year.

PvP Tournaments for Arena Tickets

(Total Cost: 900 Arena Tickets)
PvP tournaments are not the most practical option for everyone, but if you love PvP and fishing, they will be an excellent option for you. The Seafarer’s Set is the best energy gear for low-level wizards, and it gives a nice fishing luck bonus as well.

If you are a member, you can pay using gold to enter PvP Tournaments. Once you earn enough tickets, you can buy this gear from Brandon Mistborn, a vendor in Unicorn Way right outside of the Arena. Each Tournament can get you a minimum of 250 tickets, so it shouldn’t take too long.

Get a Ring & Athame that give Energy


At level 56+, Wintertusk has craftable rings and athames that give a little energy.

Recipe Vendor: Ingulf the Grower (Vestrilund)


At level 72+, you can buy rings with a similar energy bonus at the bazaar.
 
Bazaar Price: 10,500 gold
At level 76+, various Avalon bosses drop a ring that gives more energy and high damage.
 
The pictures of the other school rings are currently missing, but here are the names:
– Sir Corwin’s Ring (Myth)
– Sir Malroy’s Seal (Death)
– Nameless Ring (Balance)
– Brisk Circle of Nodor (Ice)
– Lady of the Lake’s Signet (Life)
– Deep Water Rising Ring (Storm)


At level 100+, the Gold Skeleton Key boss in Darkmoor (Aphrodite II) drops a ring, athame, and wand that give a high energy boost, Additionally, she rewards a +1 energy jewels for tear slots.

Get a Dapper Corgi Pet with Energy Talents

The pet itself gives +8 energy, and can give a maximum total of +53 energy with both energy talents and jewel.

 
Energy talents available:
 
• Energy: (Star Jewel only) +5
• Big Energy: (Star Jewel only) +10
• Huge Energy: (Star Jewel OR Pet Talent) +15
• Ultra Energy:(Star Jewel OR Pet Talent) +20
 
The pet talents will not stack with the same jewel. The ideal combination would be to have the “Ultra Energy” and “Huge Energy” talents with a “Big Energy” jewel, as the picture shows.

The Dapper Corgi pet is not available on the Hatchmaking Kiosk; however, the talents are easily obtained from there. For example, the Pixie Queen pet (there are 2 with the same name in the kiosk, I’m referring to the one that doesn’t give a Fairy item card) has many options on the Kiosk with both energy talents, as well as some other useful utility talents. The Unicorn pet is another great option. Once you get both of the energy talents from there, find a friend to hatch a Dapper Corgi with if you want the extra +8 energy.

As for the jewels, many bosses drop them. I got mine from farming Halfang Bristlecrown while farming for gold. He drops all 4 of the energy jewels, in addition to a vast selection of other jewels, so unless you already farm him often there are probably better options.

The Handsome Formori mobs in Dun Dara, Avalon are one of the best options because they are relatively easy to defeat, you can fight more than one at a time, and they do not drop many different types of jewels.

Know any other good ways to get some energy gear? Let me know down in the comments below, or send an email to us!

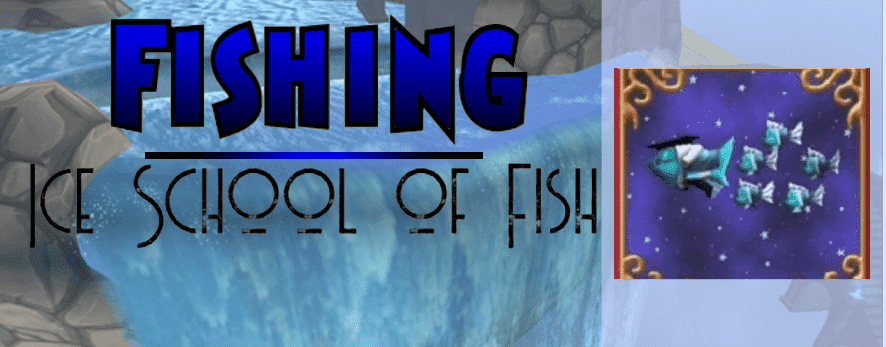
Catching the Ice School of Fish

Every Monday morning the weekly tournament fish changes. There are secrets that many Wizard101 fishing lovers don’t know. I want to share my experiences with you and travel together exploring the fantastic world of wizard101 tournament fishing!

 Ice School of Fish


School Ice | Rank2 | Common/ Regular | 1,200 XP

No used in any recipes

Αverage sale price in gold:  600 each

Limits:

Small Fry <10 

Whopper >40

Locations In order:

Azteca/The Zocalo/Zultun Dock/ Cloudburst Forest

Celestia/Celestia Base Camp/ District of the Stars

Dragonspyre:

The Basilica/The Atheneum/Plaza of Conquests,

The Basilica/The Atheneum,

The Basilica/The Atheneum/The Grand Chasm 

The Basilica/The Atheneum/The Tower Archives

The best place to catch it:

Cloudburst Forest because there is no other fish of the ice school there!

How to catch a Whopper

Use the spells in order: Winnow ice fish and then Reveal Large Fish. If no Fish are affected, summon fish and repeating the 2 first step. If you see any ice fish, put ice lure 2 or 3 and try to catch it! If you can’t see anything, go to the highest point and repeat the spell. Try glancing to all destinations quickly to see if anything shows up.

The first 3 winners will get tournament tickets:
First place: 120 tickets
Second place: 50 tickets
Third place: 20 tickets
 
The tournament ends at 30/07/18

Good luck

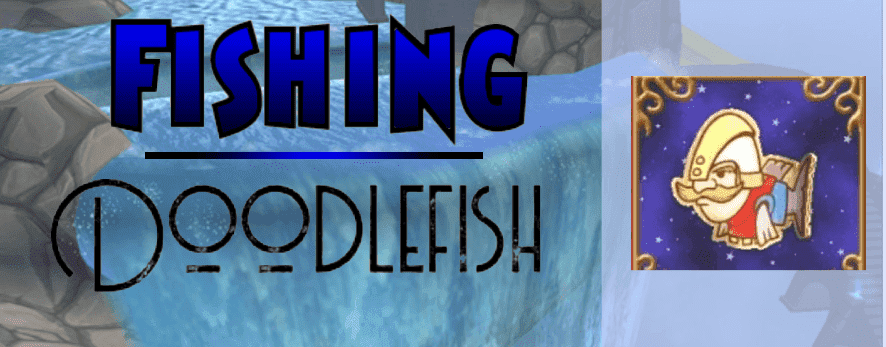
Catching the Guard Doodlefish

Every Monday morning the weekly tournament fish changes. There are secrets that many Wizard101 fishing lovers don’t know. I want to share my experiences with you and travel together exploring the fantastic world of wizard101 tournament fishing!

 the Guard Doodlefish


School Balance | Rank 1 | Common/Regular | 1,500 XP

Limits:

Small Fry < 13 

Whopper > 40

No used in any recipes

Αverage sale price in gold: 700 each

Fish Location:

Housing Items:

Battlemage Keep
*Houses purchased through Bundles, have a unique doodlefish.

How to catch a small fry

Go to the Commons and then navigate yourself to the Castle Tours headquarters where you can find the following in Visit Castle/ top rated list. It the only Balance school fish this season in that Castle. The fish that we are looking for, the shadow in the water are 13 and less for small fry. That means we are looking for fishes that have a smaller shadow. If a lure is always 10, that fish in small fry are 1,3 less that lure. But for doodlefish those limits are relative, they are about double the size of the lure.

See an example with a guard doodlefish at 13,60 relative with the lure:

The first 3 winners will get tournament tickets:
First place: 120 tickets
Second place: 50 tickets
Third place: 20 tickets
 
The tournament ends at 06/08/18
 

Good luck!

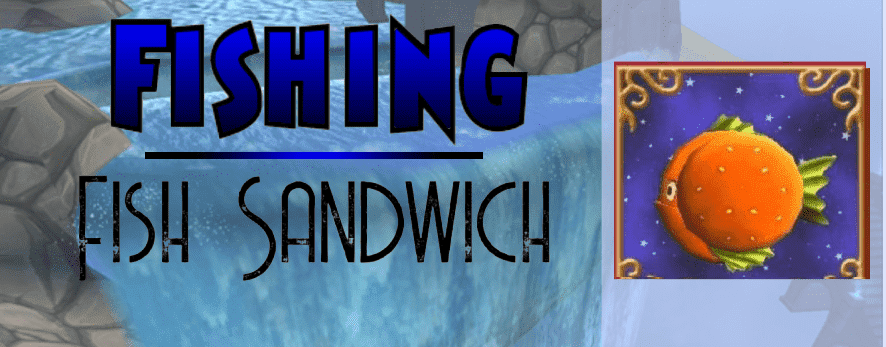
Catching the Fish Sandwich

Every Monday morning the weekly tournament fish changes. There are secrets that many Wizard101 fishing lovers don’t know. I want to share my experiences with you and travel together exploring the fantastic world of wizard101 tournament fishing!

This week we have the Fish Sandwich:

School Myth 1 | Rank | Common/ Regular | 1,300 XP
 
Limits:
Small Fry < 10
Whopper > 29,90
 

Fish Location In order:

 
Wizard City/ The Commons/ Shopping District/ Olde Town/Cyclops Lane
 
Zafaria/Baobab Crossroads/ Baobab Market
 
Housing Items: 
Castaway’s Bungalow
Myth House
Aero Village
 
NOTE: Houses purchased through Bundles have a unique doodlefish.
 

No used in any recipes

Αverage sale price in gold: 300 each


How to catch a Whopper

The best place to try is the Castaway’s Bungalow because there aren’t any other myth fish there. If you don’t find any castle to visit, the next best location is Cyclops Lane. Check the big pond in the park, Myth rank 1.
>25 for Whopper.
 

Spells in order

  1. Winnow Myth Fish/ Reveal Large Fish
  2. If no fish are affected – Summon Fish and repeat
  3. If a fish is revealed – use Lesser Frost Lure, Minor Fable Lure or Common Fable Lure and catch it.
  4. If nothing shows or no message appears, search the pond and repeat Reveal Large Fish

Tips

The fish that we are looking for, the shadow in the water will be 30 and more for Large Fish. That means when we are looking for fish with our eye, If a lure is a 10, the Whopper Fish Sandwich is 3 times the size of the lure. To avoid catching Mythacudas, make sure the shadow is over 3 times the size of the lure and not 2.5.
 
The first 3 winners will get tournament tickets:
First place: 120 tickets
Second place: 50 tickets
Third place: 20 tickets
 
The tournament ends at 20/08/18
 

Good luck!