Tag: hat
-
Waterworks Guide
•
Most of us have done this dungeon, whether you were farming for mastery amulets, mega snacks, or your level 60 Legendary gear, Waterworks is your friend for all of that. In this article, I will explain how to beat Waterworks, what you’ll encounter, and what to expect. Without further ado, let’s get…
-
Visionary Myth Critical Guide
•
Note: This guide is created for level 130 myth wizards and requires a pet with 2.0 (max stats) to be successful. Myth School Myth is such an interesting school. Anyone that can take the wrath of Cyrus Drake in the first arc deserves a little respect. The myth school is…
-
Visionary Life Guide to 100% Critical and Max Damage
•
Note: This guide is created for level 130 life wizards and requires a pet with 2.0 (max stats) to be successful. Life School The Life school is a beautiful school. It’s one of the few schools that can do everything whether it’s tanking, healing, or hitting. Because of this there…
-
Death Guide to 100% Critical
•
This guide is for level 130 death wizards and may require a 2.0 pet Death School The Death school can be deadly in the arena. It’s a school that specializes in draining the enemy’s health while regaining it’s own. The death school is opposite to the life school, but their…
-

Visionary Fire 100% Critical and Max Damage Guide
•
This is a guide on achieving high damage and 100% critical for Fire school at Visionary, currently max level 130. It is possible for all the schools in the Spiral to attain 100% critical. However, when you boost a particular stat, you decrease others. With this critical and damage build…
-

Legendary Ice PVP
•
Today’s topic is going to be pretty chill as we get into Legendary Ice PvP. The best level for Legendary Ice is definitely 66. My character was level 66 for the purposes of this article. Now, why Legendary ice? As ice you have loads of health a lot of resist…
-
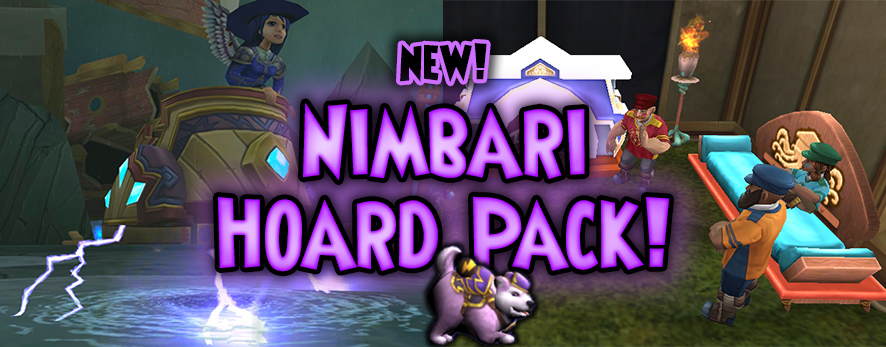
NEW Nimbari Hoard Pack
•
The new Nimbari hoard pack is super awesome and our first pack to release in 2019! With that comes some high expectations and I don’t think it is letting us down! So let’s dive right in! Pets You’re going to get a lot of different pets throughout these packs. You…
-
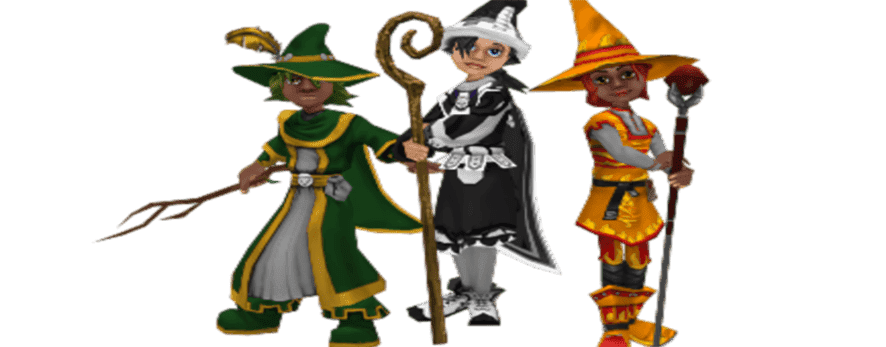
Level 5 Gear Guide
•
Gear choices can be a little bit confusing for a new Wizard sometimes. Here is a guide to help you understand your options and help your level 5 wizard be the best it can be. For 585 gold your level 5 wizard can buy the helm, robe, and boots shown here…