Tag: Castle
-
Castle Crafting
•
Did you Know? There are castles available for your wizards to craft! Previous Next That’s right, there are 4 amazing castles that you can create. You can craft a home in the stars, or an expansive home in the trees. In the mood for some creepiness? There’s a craftable house…
-
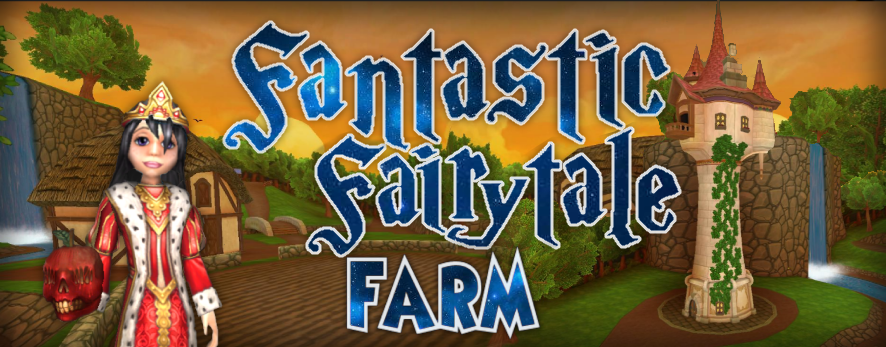
Happily Everafter
•
This incredible new castle is by far one of my favorites! The entire estate is full of fairytales and fables, from Mother Goose to The Brothers Grimm. What truly caught my attention was the morals behind the fairytales represented. I don’t know if KingIsle had an ulterior motive behind their…
-
Tunes101: Guide to Music Players
•
Tired of the silence in your castle? Well, lets do something about that. There are so many amazing Music Players available, there’s no reason to sit in silence. Come along with me, check out the players and get your groove on! Rose Piper-Music Player Recipe Vendor Rose can be found…
-
Aphrodite Strategy Guide
•
Now that we have mastered Darkmoor in my previous guide, the Ravenwood guide to Aphrodite is here. This boss is a key boss found inside The Graveyard. Once inside the gates go left around the battle with Yevgeny. You will find yourself at another gate which opens with a gold…
-
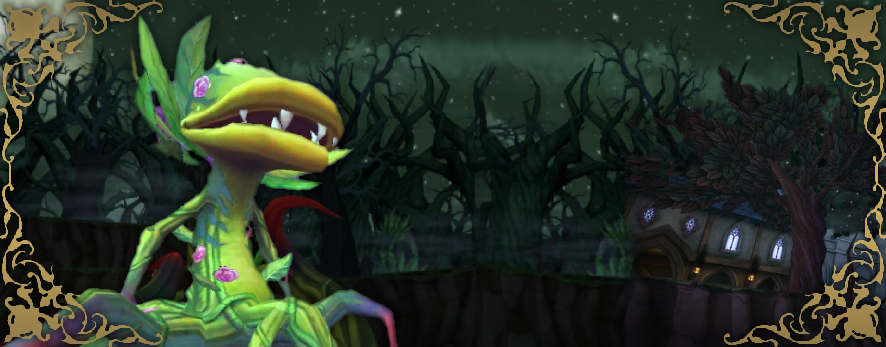
The Darkmoor Philharmonic
•
In the first Wizard101 arc we learn the story of Malistaire and Sylvia. Even in death their love holds them together. A dark and mysterious man in a supernatural castle who goes too far. In Gothic literature this is a common theme. This is only fitting for our Phantom of The Opera…
-
How to Create a Portal Hub
•
Dedicating one of your castles to store the portals to your other houses can be a laborious task, especially deciding you want to begin a project like this. If you’re not sure what I mean by a “portal hub,” I am referring to a castle that is the central hub…
-
Dorm Decorating: Death School
•
I ’m sure everyone remembers struggling to figure out what to do with their first dorm room. I had no idea what to do with the original furniture. Honestly, it just wasn’t for me, but after a week or so of fishing, questing, and collecting treasure cards, I had figured…
-

Contest Winners
•
What a wonderful time we had looking at all of the entries! It was fun for the whole team. Here are the winners of the Christmas Decoration contest, prizes will be sent to the email you provided: – 1st Place – Austin Death: Aero plains Bundle – 2nd Place –…
-

Dorm Decorating: Xmas Edition
•
It’s Christmastime in the Spiral once again! I’m sure all of you are just about as excited as I am (as if that’s even possible!). It’s the most wonderful time of the year and you can show your Christmas cheer with an exciting and original Christmas themed dorm room! I…
-
Polarian Shipwreck
•
Are you ready to take on the next challenge? Is all the equipment there?We need your valuable help, time, patience and screenshots! I will continue with the Polarian Shipwreck This is what’s been confirmed or not yet by Wiki and the Housing Item Identifier or other sources. Battle Narwhal Wiki: VerifiedHousing…