Tag: Wizard101 guide
-
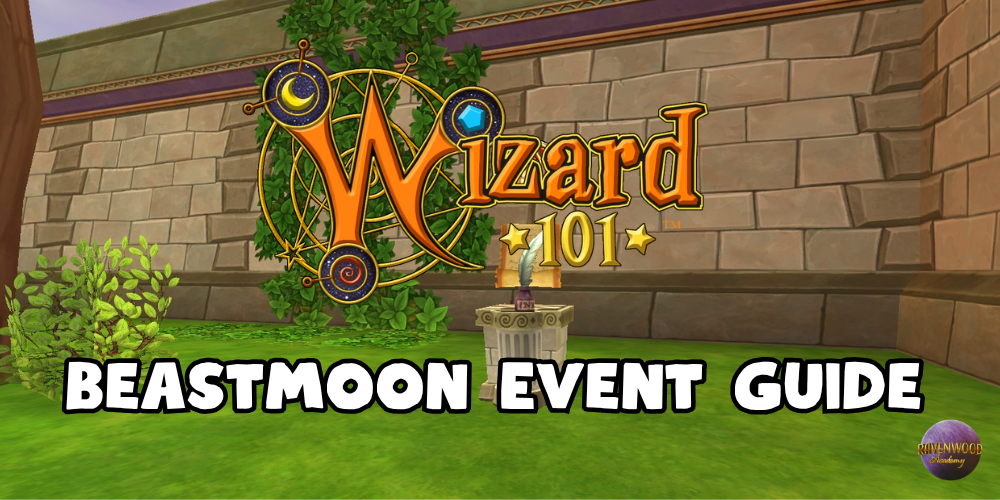
Beastmoon Event Guide
•
Beastmoon consists of two different events that take place every month on Wizard101. These two events are called Beastmoon Hunt and Beastmoon Monster Mayhem. These are separate game modes with different rules and occur at different times. However, the overall premise of both games is to fight enemies using polymorph…
-
School Pip Breakdown
•
School Pips Kingsisle is introducing a new kind of pip, School Pips, and they do everything that Power Pips do, plus a little bit more. School Pips count as power pips, so you can use them in all the ways that you can currently use power pips. They count as…
-
Pet Trainer Bundle
•
Burrow your way to adventure with the fantastic Pet Trainer Bundle for Wizard101! This excellent addition to the Spiral brings you a faithful companion and gear to help you on your adventures! For $29.00 at Gamestop, you get a fantastic gear set, speedy mount, cute pet, and some unique housing items!…
-
Fantastic Ward Pets
•
What Is A Ward Pet? The name Ward Pet refers specifically to “Ward” talents. Each school has a corresponding ward talent, usually with the school’s name followed by the word “Ward”. For instance, Fire-Ward or Balance-Ward. These talents all give up to 15% resistance to that specific school. Since these…
-

Superstacking Medium Plants
•
Gardening is such an amazing way of getting Mega Snacks, TC’s, reagents and of course GOLD! Making the most of your gardens space is very important. Here is an easy way to have a 64 medium plant garden, and it’s basically error free. When completed, it will be 4 plants…
-

Ice Guide to 100% Critical
•
You probably thought it was impossible to get 100% critical plus high damage with the Ice school, huh? Well, you’re wrong! With Ice, this is the most difficult school to get 100% critical, even more so with balancing high damage with it. Ice doesn’t have the privilege of having high…