Tag: Entertainment
-
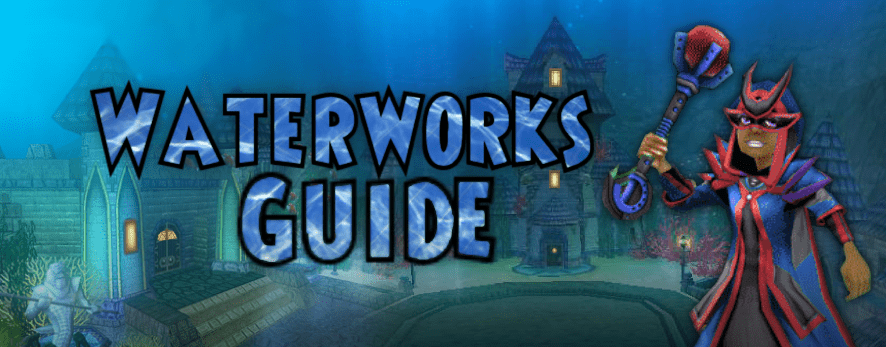
Waterworks Guide
•
Most of us have done this dungeon, whether you were farming for mastery amulets, mega snacks, or your level 60 Legendary gear, Waterworks is your friend for all of that. In this article, I will explain how to beat Waterworks, what you’ll encounter, and what to expect. Without further ado, let’s get…
-
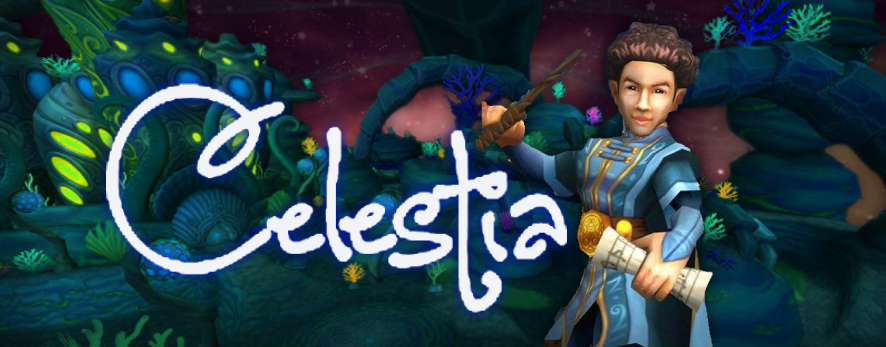
The Celestian Orchestra
•
Celestia, world of the shining stars, the reflecting moon, the powerful sun -and crabs- we invite you to the recently discovered in-tact ruins of the Celestian Opera House. Archaeologists have inspected the theatre to be in safe enough condition for public entry. Our finest Marleybonian musicians have decided to hold…
-
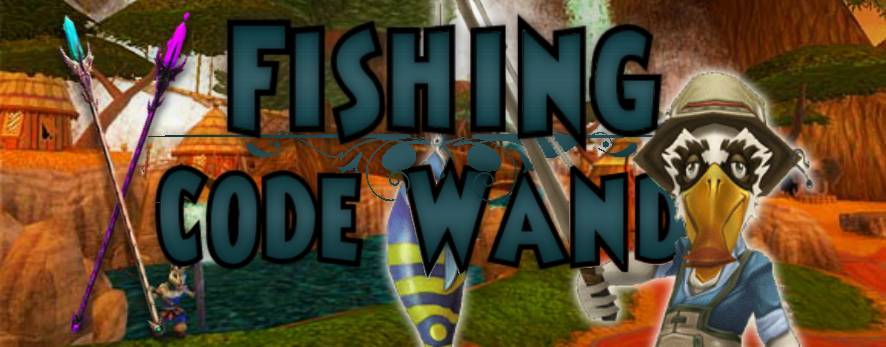
Fishing: Code Wands
•
After the Zafarian fish were updated, chests containing precious code wands that don’t exist anymore as drops from bosses. The code wands are found in various lakes in Zafaria, but let’s focus on a single area in Zafaria that is well known as Elephant Graveyard. Location Zafaria In order: Baobab…
-
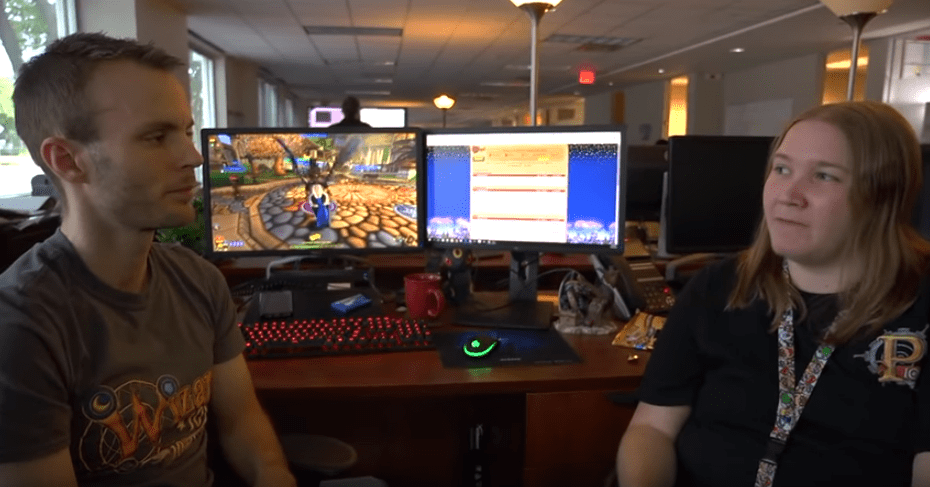
Mathew “Sparck” Anderson
•
Recently the Wizards of Ravenwood Academy brewed up a batch of exciting questions for our amazing, Senior Community Manager Mathew “Sparck” Anderson. Our goal was to get answers to some questions the community has been asking, and Mathew did not disappoint. So, let’s get to it, we are excited to…
-

Contest Winners
•
What a wonderful time we had looking at all of the entries! It was fun for the whole team. Here are the winners of the Christmas Decoration contest, prizes will be sent to the email you provided: – 1st Place – Austin Death: Aero plains Bundle – 2nd Place –…
-
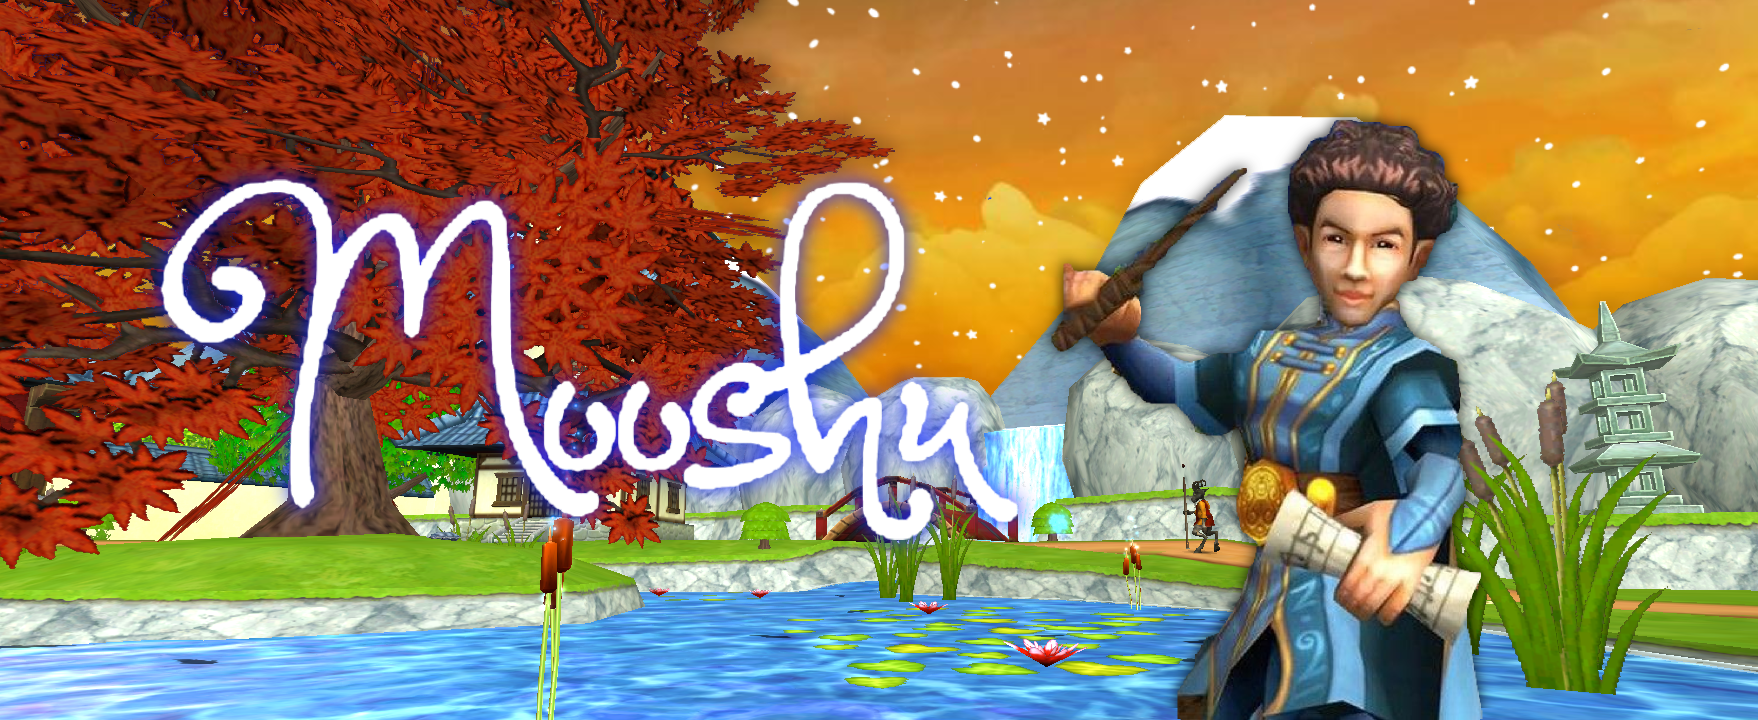
The Music of Mooshu
•
As the emperor falls ill, the factions of Mooshu wage war against each other and there is no way of knowing how it will all play out. Mooshu’s people are hesitant to trust us wizards because of Malistaire who stole their spiral key in an attempt to resurrect his beloved Sylvia. Let us delve into the…