Tag: Malistaire
-

Darkmoor Strategy Guide
•
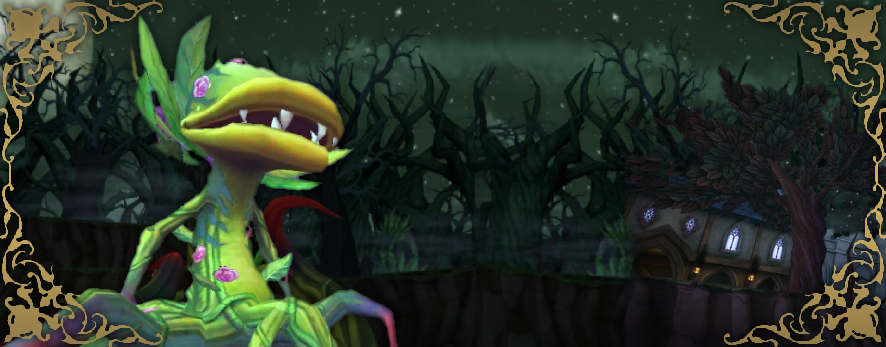
Hello Wizards, Amber Ravynsong here with the Darkmoor Strategy guide you all have been asking for. Darkmoor consists of three dungeons. First, Castle Darkmoor, then The Upper Halls, and finally The Graveyard. 3495 Crowns will purchase this area permanently, and 495 can get it for 6 hours. Start to finish,…
-
Aphrodite Strategy Guide
•
Now that we have mastered Darkmoor in my previous guide, the Ravenwood guide to Aphrodite is here. This boss is a key boss found inside The Graveyard. Once inside the gates go left around the battle with Yevgeny. You will find yourself at another gate which opens with a gold…
-
The Darkmoor Philharmonic
•
In the first Wizard101 arc we learn the story of Malistaire and Sylvia. Even in death their love holds them together. A dark and mysterious man in a supernatural castle who goes too far. In Gothic literature this is a common theme. This is only fitting for our Phantom of The Opera…
-

The Dragon Titan Army Band
•
Intended for Musician and Non-Musician Alike “Things started turning darker. Kingsisle were talking about dark and epic Mordor Wagner ‘Flight of The Valkyries’ in The Ring Cycle. I am looking at concept art and the NPC characters had Russian military influence; All the architecture was darker – more foreboding.” –…
-
Darkmoor Runs Event!
•
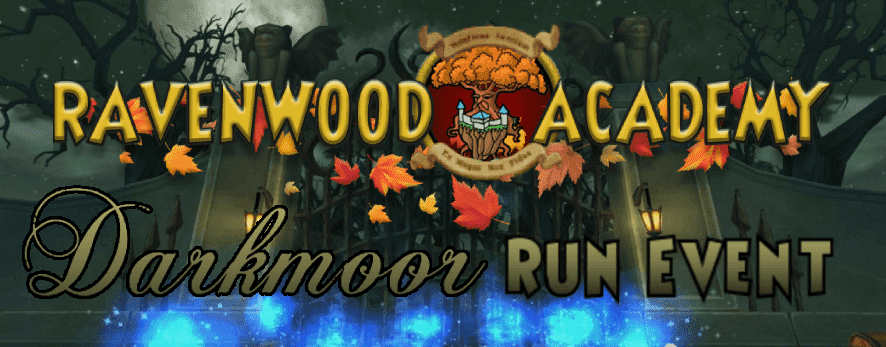
Come join us Saturday November the 17th!! Meet us at 6pm Eastern in the Commons realm Unicorn for our Full Darkmoor Runs event. Our staff and Dungeon Runners will take teams of level 100+ Wizards through the Graveyard including Aphrodite! After a few runs we will meet in the commons…