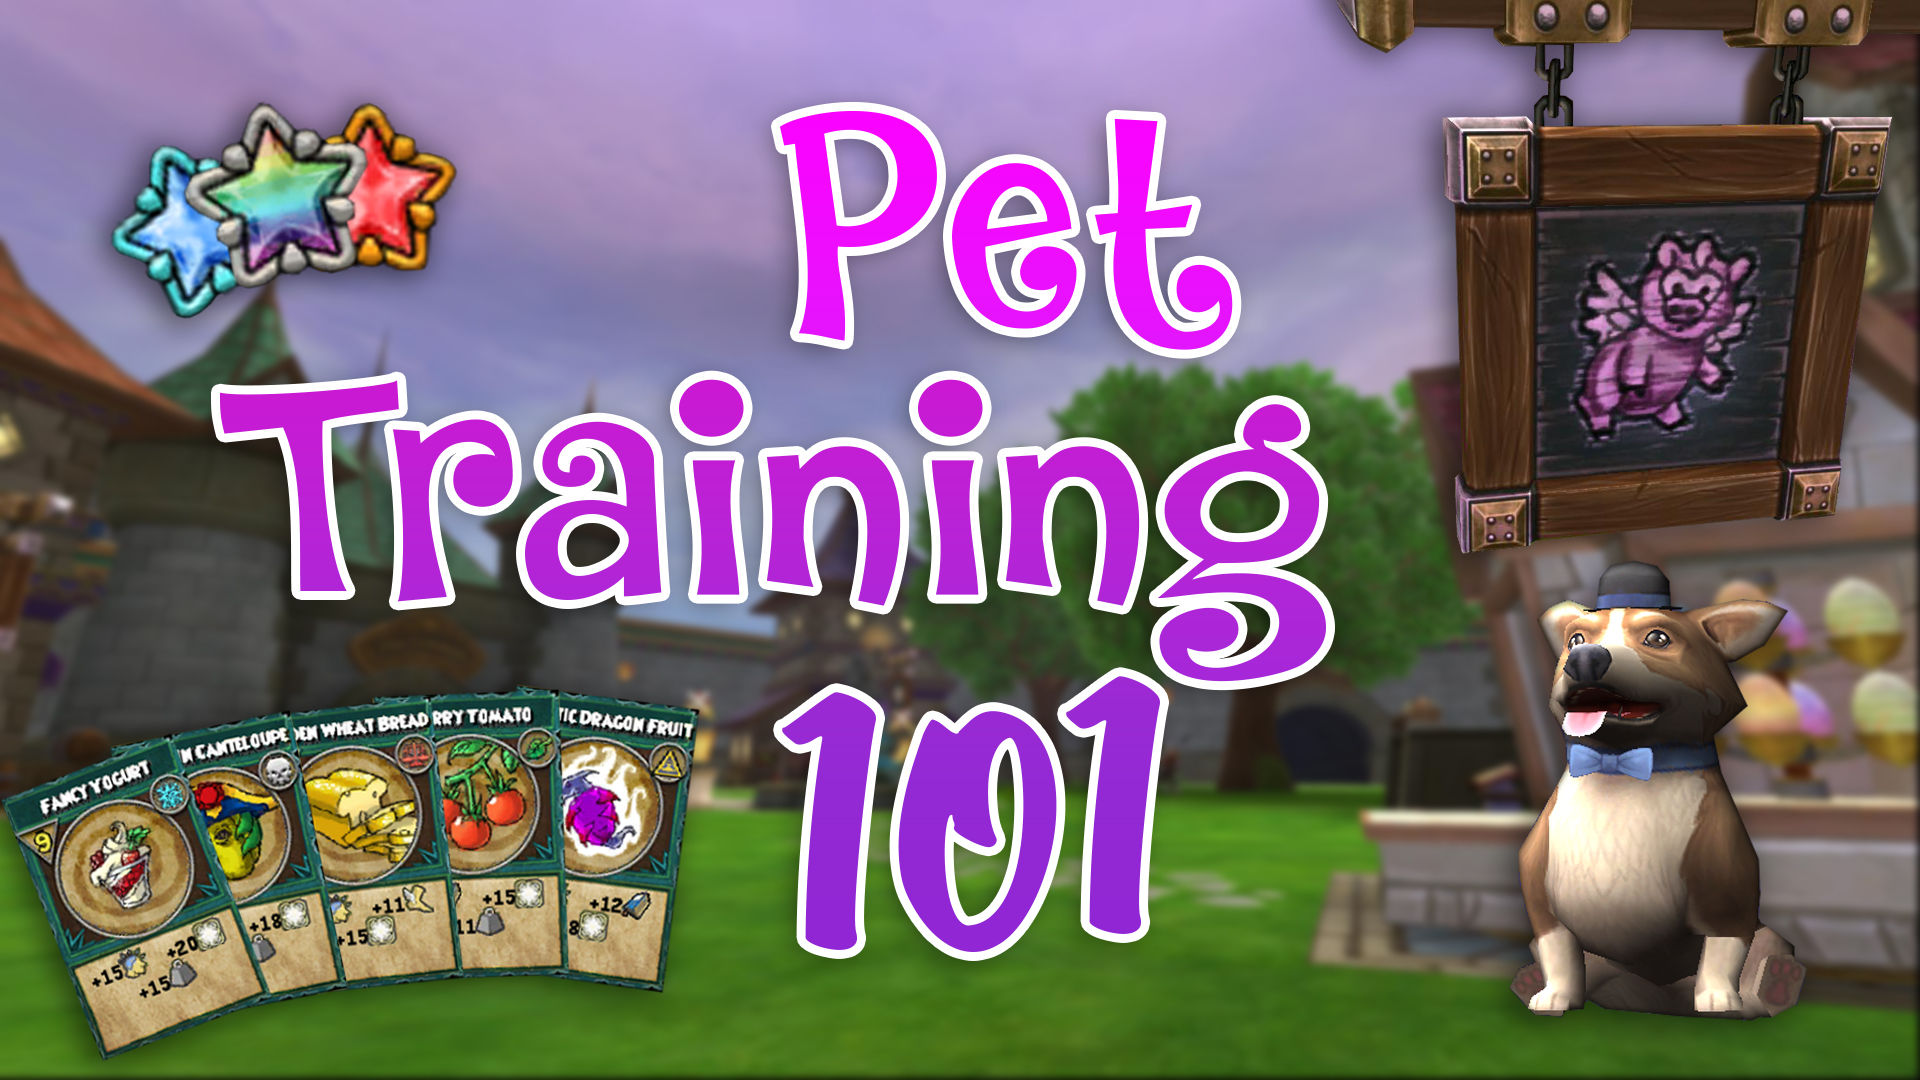
Wizard101 Pet Training Guide

Hello, this is Community Moderator Bean with my Wizard101 Pet Training Guide. This method works with any pet and will clean 95% of the pet’s Talent pool. It rarely results in fails when done step by step.

Hatchmaking 101

Step One

Look through the Kiosk to find a pet with item cards you like. I prefer pets with a blade. There are many different options, and I’ve given you a few examples here.

Step Two

Using the search feature in the Kiosk, enter the two most desired Talents you want. Once you’ve done this, look for a pet that has all the talents you want. You may have to search through many pets to find the exact Talents you desire. Never settle for a pet that isn’t 100% what you want.
Example: Triple Double Mighty 
 
  • Your school-Dealer
  • Your school-Giver
  • Pain-Giver
  • Spell-Proof
  • Spell-Defy
  • Mighty Jewel in the socket 


Mighty is a “selfish” talent that can boost damage or resist talents.

Step Three

Make sure the pet you choose to hatch with is at max sap/numbers or is
close to max sap/numbers.

*SAP is Strength, Agility, and Power*

Max numbers are 255, 250, 260, 260, 250. Max numbers are important, they make the difference between a +9 and +10 damage Dealer Talent.

Step Four

Hatch but ONLY take the initial hatch to adult.

Step Five

Hatch again with the same or a similar pet.
Hatching with the same kiosk pet is optimal so that the talent pools do not mix. Hatching with different pets can result in unwanted talents, or “fails”.

Side note, the first couple hatches will have fail/ unwanted talents. Do not discard this pet, by re-hatching and only taking the pet to adult, you’ll clean the pet’s gene pool.

Step Six

Repeat steps four and five until you have a pet with two of the five talents you want. Make sure the pet’s SAP is close to maximum.

Keep this one as a BASE pet, do not ever train this past adult. It will take a couple of hatches to make a successful base pet.

Depending on what pet you’re choosing to make, do not get discouraged if the first couple hatches fail. This is why re-hatching at adult is recommended. To make sure you don’t waste any pet snacks and so the fewest undesired talents get transferred onto the pet.

Step 7

Hatch your base pet one last time. Then, take the new egg and train it to Mega.

Step 8

If the pet you’re taking to Mega fails; trash it and use your base pet to hatch another pet to take to mega.

You’ll know when you have your final base pet when the following applies:

  • The pet’s talents pools are similar or completely the same.
  • The pet’s stat number are the same or similar.
  • The past three to five hatches have succeeded. 
  • The previous hatches have consistently manifested between two and five or the desired talents.

When this list applies to your base bet, you’ll be ready to take the next hatch to Mega.

Kiosk 101

When you use the Kiosk, try to hatch with the same pet, mixing pools can result in fails. But, be mindful, if you cannot find the same pet it is for one of the following reasons:

1. It’s on a timer, once a pet is hatched with, there is a one hour cool-down timer until it can be hatched with again.

2.The pet has spent the maximum amount of time in the Kiosk, which is two weeks. Once a pet reaches two weeks it is removed from the Kiosk.

3. The Kiosk pets has reached its limit of 10 hatches for those 14 days. Once a pet reaches ten hatches, it can’t hatch again until it’s removed and then placed back in the Kiosk. 

Hatching Costs

It should be noted the price of hatching is vastly different between the Hatchery and the Kiosk.

On average Hatches done in the Hatchery cost anywhere from 22k to 47k gold.

Meanwhile, Hatches done at the Kiosk cost anywhere from 75k to 103k gold.

Training 101

Congratulations on your new pet! A Wizard’s pet is their greatest ally; for your new companion to reach their fullest potential, you’ll need to train them. To raise your pet’s level, you’ll need to play one of the six minigames in the Pet Pavilion located off the Commons.

Energy

While you train your pet, you will notice the amount of energy for each minigame increases as they level up. The energy cost goes up two points for every level after Baby, with Teen costing four energy, an Adult needs eight, and so on. The oldest pets are Ultra, which costs fourteen energy per game.

Minigame Mastery

With the arrival of Minigame Mastery, you can skip minigames. After you’ve won a minigame twenty-five times, you will receive mastery. Meaning, you can pay the energy but miss the game. You will not receive any experience for skipping, but you will be able to feed your pet a snack right away, making training pets much quicker.

I would recommend the Dance Game, but you are welcome to choose whatever game you prefer. Skipping the game costs the same amount of energy it would take to play the game. You’ll still be able to play the minigame if you choose to.

Maxing out Talents

How do I make my pet’s talents more powerful? 

Your pet’s manifested talents improve based upon the stats associated with them. For example, you have a pet with damage talents, but you didn’t train the stats that correspond (Strength, Will, and Power). They will not improve until you train those stats, which can happen by playing minigames or feeding your pet snacks. If you are unsure of which stat effects what talents you can hover your cursor over the talent and it will tell you.

Questing

My pet leveled up outside the Pet Pavilion. How?

With the arrival of 2020 Spring Update, pets now receive a few experience points for every main storyline quest you complete with them equipped. It is theoretically possible to train a pet to Mega this way, but it will take a very long time.

Mega Snacks 101

Mega snacks are a snack that you can receive by farming gauntlets, dungeons, and gardening. These snacks give at least +25 points each, and they are “No Auction” meaning you cannot sell them in the Bazaar.

gardening

Gardening Couch Potatoes and Evil Magma Peas are the best way of obtaining mega-snacks.

Couch Potatoes are a Rank 3 plant that drop many different types of items that you can stock up on for gold. For example the snacks that give +10 expeirence points, Empowers, and lots of sellable Treasure Cards. These plants can also drop their own “likes” which boosts their growth rate. These drops include Tropical Garden Gnomes, Litter, and the Sandwich Station. All of which can all be purchased at the Bazaar in Olde Town. The Mega Snacks that Couch Potatoes drop, are listed below:

Golden Wheat Bread: +40 points each
Captain Canteloupe: +45 points each
Fancy Yogurt: +50 points each

Evil Magma Peas are a Rank 4 plant that drop lots items that you can stock up on for gold as well, such as sellable Treasure Cards like Cleanse Charm, Earthquake, etc. They also drop reagents that are very useful for crafting (black pearl, sandstone, sunstone, etc…). These plants can also drop their own “likes” which boosts their growth rate. These drops include Tropical Garden Gnomes, Djembe Drums, and the Egg Basket, all of them be purchased at the Bazaar in Olde Town. The five Mega Snacks this plants drops are listed below:

Golden Wheat Bread: +40 points each
Cherry Tomato: +40 points each
Mystic Dragon Fruit: +45 points each
Captain Canteloupe: +45 points each
Fancy Yogurt: +50 points each

Dropped Mega Snacks

The Starburst Spiders from Mirror Lake drop the Pixie Stix snack. These snacks only do +30 each, and only two are obtainable per run. 

Winterbane Hall is a housing gauntlet that drops 6 different mega snacks. These snacks on give +25 each; but, many more drop per run. You don’t need a membership to do this gauntlet, but you’ll likely need a few friends to help you.

Crafted Mega Snacks

There are the only four craftable Mega Snacks currently. Each recipe requires 2,000 gold, five specific treasure cards, 4-5 Pristine Vials, and one fish. Which may require you to spend some time fishing in the Spiral to collect all the ingredients. 

Mystic Dragon Fruit can be found in Dragonspyre and is sold by Darina BloodFlame.

The Captain Canteloupe recipe is sold in Celestia by Clarence Cavendish.

The recipe for the Cherry Tomato is sold by Jackie WhisperFlame in Wizard City.

Finally the recipe for Golden Wheat Bread can be found Krokotopia, and is sold by Shazz’am.

Jewels 101

There are many ways to get jewels for your pet’s socket. Whether through farming or crafting, some can even by purchased through gift cards. Always research your jewel before taking your pet to Ultra. Some jewels do not need your pet to be Ultra.

Farming and Crafting

 Most of the pet jewels in Wizard101 are farmable or craftable. Many monsters and bosses drop a variety of pet Jewels. Ask the community if you aren’t sure where a certain Jewel drops.
 
You can also craft Jewels, Lowe Springfield sells jewel recipes in the Pet Pavilion. Keep in mind that these crafted Jewels are randomized. You’ll more than likely have to make more than one to get your desired jewel.

Ultra Jewels

Raising your pet to Ultra gives you a chance to receive one Tier 1 Selfish Talent Jewel like Mighty. These Selfish Talent Jewels give +65 to their respective stats. So, they can raise damage, resist, crit, pierce, etc. talents by a few points. The only other way to get in these Selfish Talent Jewels is to craft them or train them as a Talent on your pet.

Kroger Jewels

“Kroger Jewels” are cards sold at Kroger, Vons, Safeway, etc. for USD 20. These giftcards offer a double-talent Jewel, which cycles each month. These cards are redeemable in later months, for different Jewels. For example, if you bought your card in September, you can redeem it in July if you want the July Jewel instead. Not only do you get a Double Talent, Unshatterable pet Jewel, but also an Energy Elixir and a choice of 10,000 crowns or two-month membership. You can sometimes receive a Kroger Jewel through the seasonal Scroll of Fortune.

common pets 101

Pets that are usually referred to as “Double Triple”, “Ward pets”, “Jade pets”, etc. are known as that because of their common use. These are the staple pets that you’ll always find in the Kiosk.

Triple Double

A “Triple Double” is a pet with two universal resistance and three damage talents for your school. The name states what talents the pet has. Double Triple pets manifest; Pain-Giver, Spell-Proof, Spell-Defy, and a matching Dealer and Giver. Example: Death-Dealer and Death-Giver. These two talents are school interchangeable. If you’re working on a Double Triple for a specific school, insert the school name before Dealer or Giver.

Jade Pets & May-casts

“Jade Pets” or “May-casts” are made to compliment a Jade Wizard, a healer tank in Jade Gear. These pets usually have two universal resistance Talents with a combination of May-Cast or healing talents. 

Ward Pets

“Ward Pets” have two universal resistance talents and three ward talents, these pets are mainly for PvP. Wards talents grant a +15 resistance to a specific school, like Balance Ward. These pets appear in PvP because this type of pet gives +30 resistance to three schools. You can change the school of your desired ward by changing the school typed before -Ward. Example: Spell-Defy, Spell-Proof, Ice-Ward, Fire-Ward, and Myth-Ward.

Happiness

Happiness is the latest addition to pet stats in the Spring 2020 update.
 
Happiness includes being able to transform into your pet whenever you want. But your pet’s happiness will decrease every 5 points for every minute of usage. 
 
My pet’s happiness is getting low. How do I raise it? You can feed your pet with the new HUD for pets in the lower-left corner of your Wizard101 screen.
 
 
How is my pet’s happiness calculated? Your pet’s happiness is equal to the sum of your pet’s stats in which you’ve trained. Since this example, the pet isn’t trained in intellect. The pet’s happiness will be 1026 until the intellect increases. Your pet’s Happiness will improve by the total points the pet has improved every time you train it.

Thanks for Reading!

Thank you for reading this guide, I hope it help you on your way to creating your perfect pet! If you liked this guide be sure to look at the other articles and guides that Ravenwood Academy has to offer, like our Energy Saving Tips Article.

Looking to stay up to date on the latest information? Follow Ravenwood Academy on Facebook and Twitter. There’s also a Ravenwood Academy Discord if you’re seeking fellow Wizard101 enthusiast! Any further pet related inquires may be directed to me, Bean#5406, on our Ravenwood Academy Discord.

Thank you all again!

~ Bean

Critical Changes Explained

The New Critcal System Explained

Hello Wizards, Nathan Shadowbringer, and Scot Moonshade here! We’re going to explain the recent changes to Critical and Block. Today’s article will revisit the previous age’s Critical and delve into the new system. We will examine the formulas to calculate your Critical Chance and damage multiplier. Critical has undergone a lot of change in recent years, and this update brings a new era of Critical! Critical and Block were once a percentage-point based system. Now it’s changed to a dynamic framework involving both Critical and Block.

Disclaimer!

Before we begin, we need to make a quick disclaimer. According to Ratbeard’s Karamelle PvP Update #2, Critical in PvP is not calculated the same as in PvE. The formulas we used do not work for calculating Critical or Block in PVP. All the information below applies to PVE only. With that said, let’s get started!

Old Versus New

Before the 2020 Fall Update, Critical was well… more critical. There was a chance to critical and a chance to block—the Critical stat based itself on how high your rating was in the respective category. Landing a Critical would ensure that your attack would do twice the damage (or 1.33 times damage in PvP). The problem with the old system was that achieving a high Critical Rating was easier than Block. It was making Block obsolete compared to Critical. With the new changes, it’s more balanced.

The following variables represent the corresponding data sets:

c = Critical rating

b = Block rating

l = Level / 100, where l ≤ 1.

The changes to Critical involve two new formulas. Both equations depend on the attacker’s Critical and the defender’s Block. The first formula determines your Critical chance. Note that Critical chance and Block chance must always add to 100%. For example, if you have a Critical chance of 90%, your opponent would still have a 10% chance to Block. 

If your attack doesn’t Critical, or if the enemy blocks, the calculation ends there. In this scenario, the second formula isn’t necessary. But, if you do land a Critical hit, then the second equation runs. This determines the Critical Multiplier. This formula relies on the attacker’s Critical and the defender’s Block. Further examples are available in KI Developer Ratbeard’s Dev Diary.

Critical heals also use the Critical Chance formula. But they’re based on your Critical Rating and the Block of the person you are healing. The only difference is, they cannot Block a heal but instead can “resist.” The higher your Block, the less you’ll get from a critical heal. Fortunately, the schools that have more Block also tend to lean towards a tank-type playstyle. Tank builds have more Health and Resistance, so they can afford to lose some of that incoming healing from the Critical. Regardless, the amount of extra healing uses the same critical multiplier formula. Remember, it’s still impossible to block a critical heal!

Spell Alterations

Another important note to these changes is the way Vengeance and Conviction work. Vengeance is an Astral spell that increases your Critical chance by 20% for four rounds. This bonus only affects your chance to Critical. It doesn’t affect the enemy’s Block or your damage multiplier. Conviction increases your stun resistance by 90% and Block chance by 20% for four rounds. This 20% increase only affects the possibility to block a Critical. It doesn’t affect the enemy’s chance to critical, nor does it lower the multiplier.

Charts and Calculations

There are a few basic formulas that can roughly estimate Critical and Block ratings. These formulas are interchangeable, and most involve moving numbers and variables around. The following equation presented removes the need for complex fractions. Here are two general procedures for determining Critical chance:

Much like the Critical percentage formula, the damage ratio also follows a function. In this case, the damage multiplier is equal to 2 – 3 * Block / (Critical + 3 * Block). See the formula below.

Here is an estimate of your Critical Chance against mobs with ninety block (blue) and two hundred-forty block (red). The green line at the top represents the Critical Chance soft cap at ninety-five percent.

Using these formulas, you can now find optimal Critical numbers for mobs and bosses. Karamelle mobs have around 90 Block while Karamelle bosses have at most 240 Block. Except for the final boss, it would seem.

This is the approximate damage multiplier against a mob with 90 Block.
Here is the approximate damage multiplier against a mob with 240 block.

What Does this Mean?

It’s important to remember that everything we’ve shown you is subject to change. Critical and Block in PvP are calculated differently than PvE.

Using these numbers, you can find your optimal amount of Critical; 570 Critical will get you up to 95% Critical against most mobs. Using the formula for Critical Multiplier, we suggest 630 Critical as a good general goal. This way, against monsters with 90 Block, you’ll Critical 95% of the time and get a 1.7 multiplier against them.

As we enter the “Third-Age” of Critical, there’s potential for more diverse character builds. An example of this could be full-damage pets as opposed to pets that have Critical and damage. These changes also give new life to the may-cast Vengeance talent. This update creates better balance and a more dynamic flow between Critical and Block, allowing players to customize stats to their unique play-style. Thanks for reading; we hope this helps you understand the changes and how they affect your Wizard. If you have questions, you can always find us around the community. That’s all for now, until next time, we’ll see you in the Spiral.

-Nathan Shadowbringer & Scot Moonshade